CONTENTS:
Create a Map
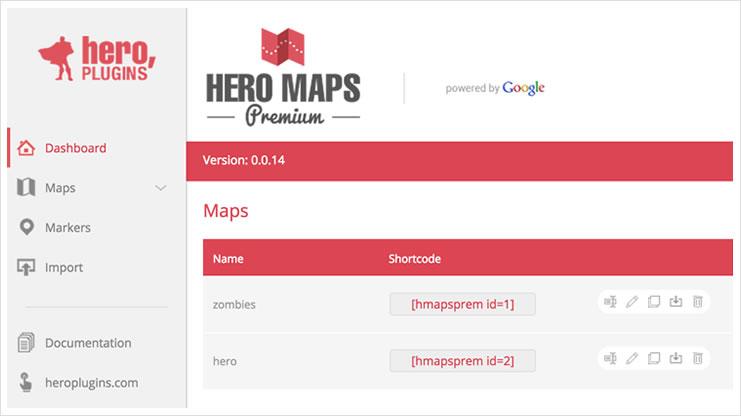
Once Hero Mapshas been activated, browse to Hero Maps in your Admin area The first screen you see will be the Hero Maps Dashboard (pictured below) To create your first map, click on Maps, and click on the Add New button Type your map name in the text box that opens and click on the Add New button.

Set Up
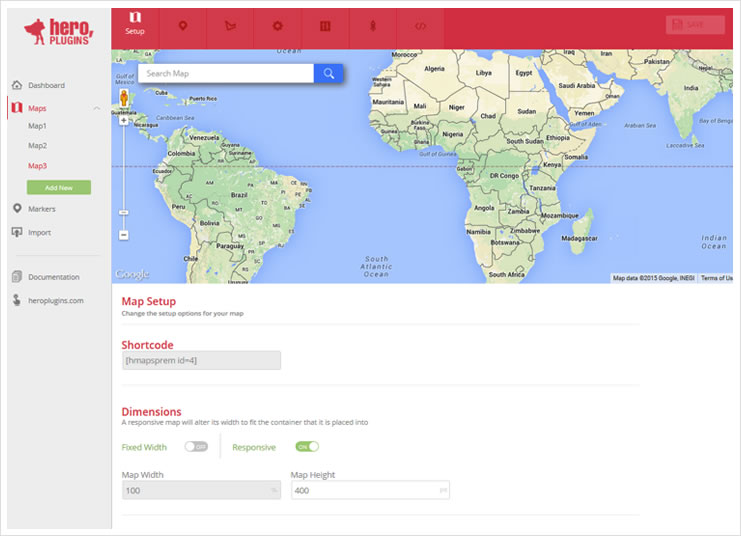
Once your map has been created, you will be taken to the setup screen and your screen will appear similar to the one below:

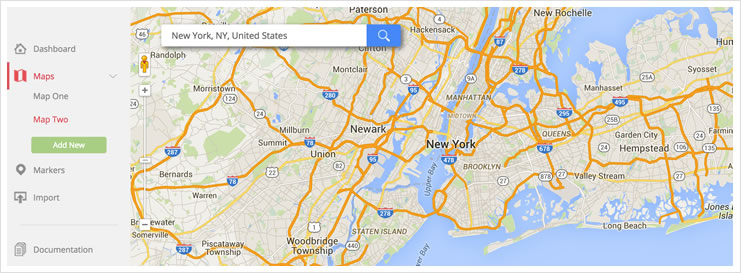
This screen will contain the default map – you can left-click on the map and drag to center it where you want to – or alternatively, make use of the Search Box. Zooming in and out with the mouse-wheel is disabled by default, but you can zoom in and out using the standard control on the left-hand side of the map.

Secondly, you will see your map’s shortcode – this is what you will use when adding a map to a page or post.
Finally, you will see your map dimension settings. You can choose between Fixed Width and Responsive settings – and set the size for your map.
Please note that if you choose the responsive option, your map needs to be placed in a container that is responsive as well.
While it isn’t strictly speaking necessary to save between each step, we do recommend clicking on the Save button in the top right-hand corner when you have completed making your adjustments.
Add Markers
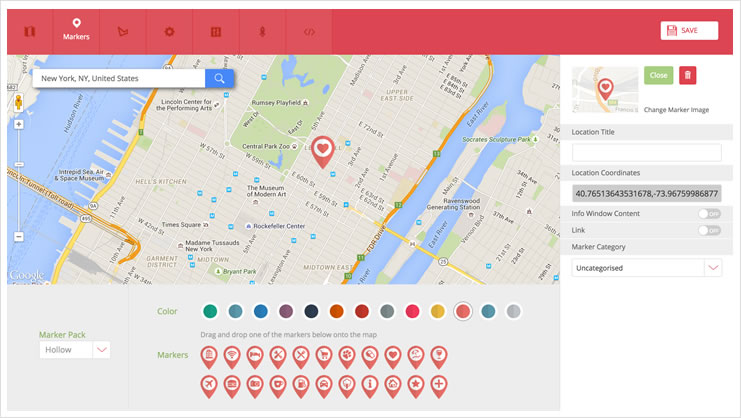
The second panel contains markers you can add to your map to highlight points of interest. Assuming you have adjusted your map to the zoom and the area you would like to see, you should see something like this:

Below the map, on the left, you can use the dropdown to select your Marker Pack from the installed Marker Packs.
Directly below the map are the marker color sets. Choose your colour before dragging markers onto the map, as markers already added to the map will not change colours after the fact. You can have markers of different colors on the same map.
To add a marker to the map, simply click and drag the marker to your desired location. Once you are satisfied with the location of the marker, click on the marker to add details – the Info box will slide out from the right.

The Info Box also contains options to add additional info and link information – these options are off by default but can be turned on using the switches. Add your desired information and click on Save when you are finished.
If you would like to delete a marker already placed on the map, click on the marker, and then on the trash bin icon in the info box.
Once again, be sure to click Save when done.