In this Quick Start, we will be creating an example slide with a background image and a single text element.
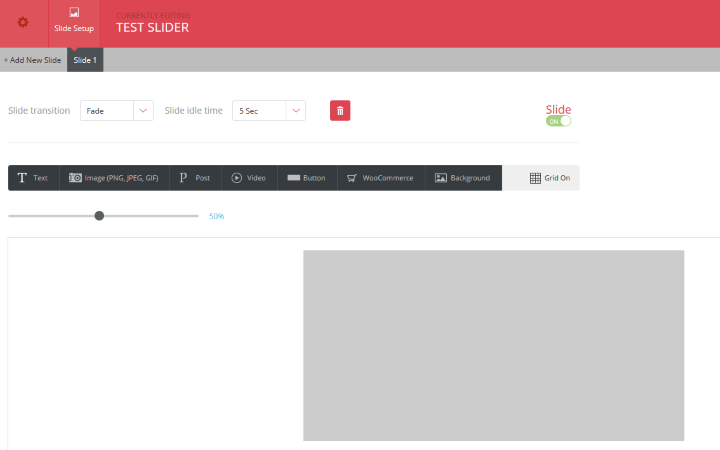
When you navigate to your Slide Setup tab for the first time, a blank slide will automatically be created for you, and you will see the following:
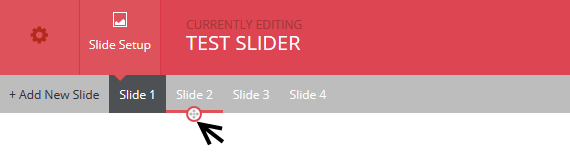
Add new slides by clicking on the Add New Slide button – new slides will be listed as separate tabs on the slide bar. Slides can be reordered by means of drag-and-drop – simply hover your cursor over the slide you want to move until the handle appears and then drag the slide to its new position.
The top controls allow you to change your slide’s transition effect and idle time, delete the slide, or to enable/disable that particular slide, preventing it from appearing in on your live slider.

The second toolbar contains the various elements which can be added to your slide. Clicking on any of these will open a dialogue box which you can use to add your element to your slide, and it contains all the settings and options needed to adjust the appearance of your element as it appears on your slide.

Clicking on the Background button will take you directly to the Media Library, while the Grid On will overlay a grid on the canvas which you can use to position your elements. This grid is not visible on live slides.