The inVogue theme comes bundled with the WPBakery Page Builder plugin to allow for creating content-rich pages and layouts. We've created some new custom page elements for WPBakery Page Builder specifically for inVogue to make the process of creating a great looking and responsive site as easy as possible. The theme's entire demo site has been created using these page elements only.
Here we'll include an overview of these elements.
CONTENTS:
Backend Editor
Add an Element
Add a Row
Edit an Element
Order Elements on the page
Delete an Element or Row
Backend Editor
Begin by first ensuring that the WPBakery Page Builder plugin has been installed and activated.
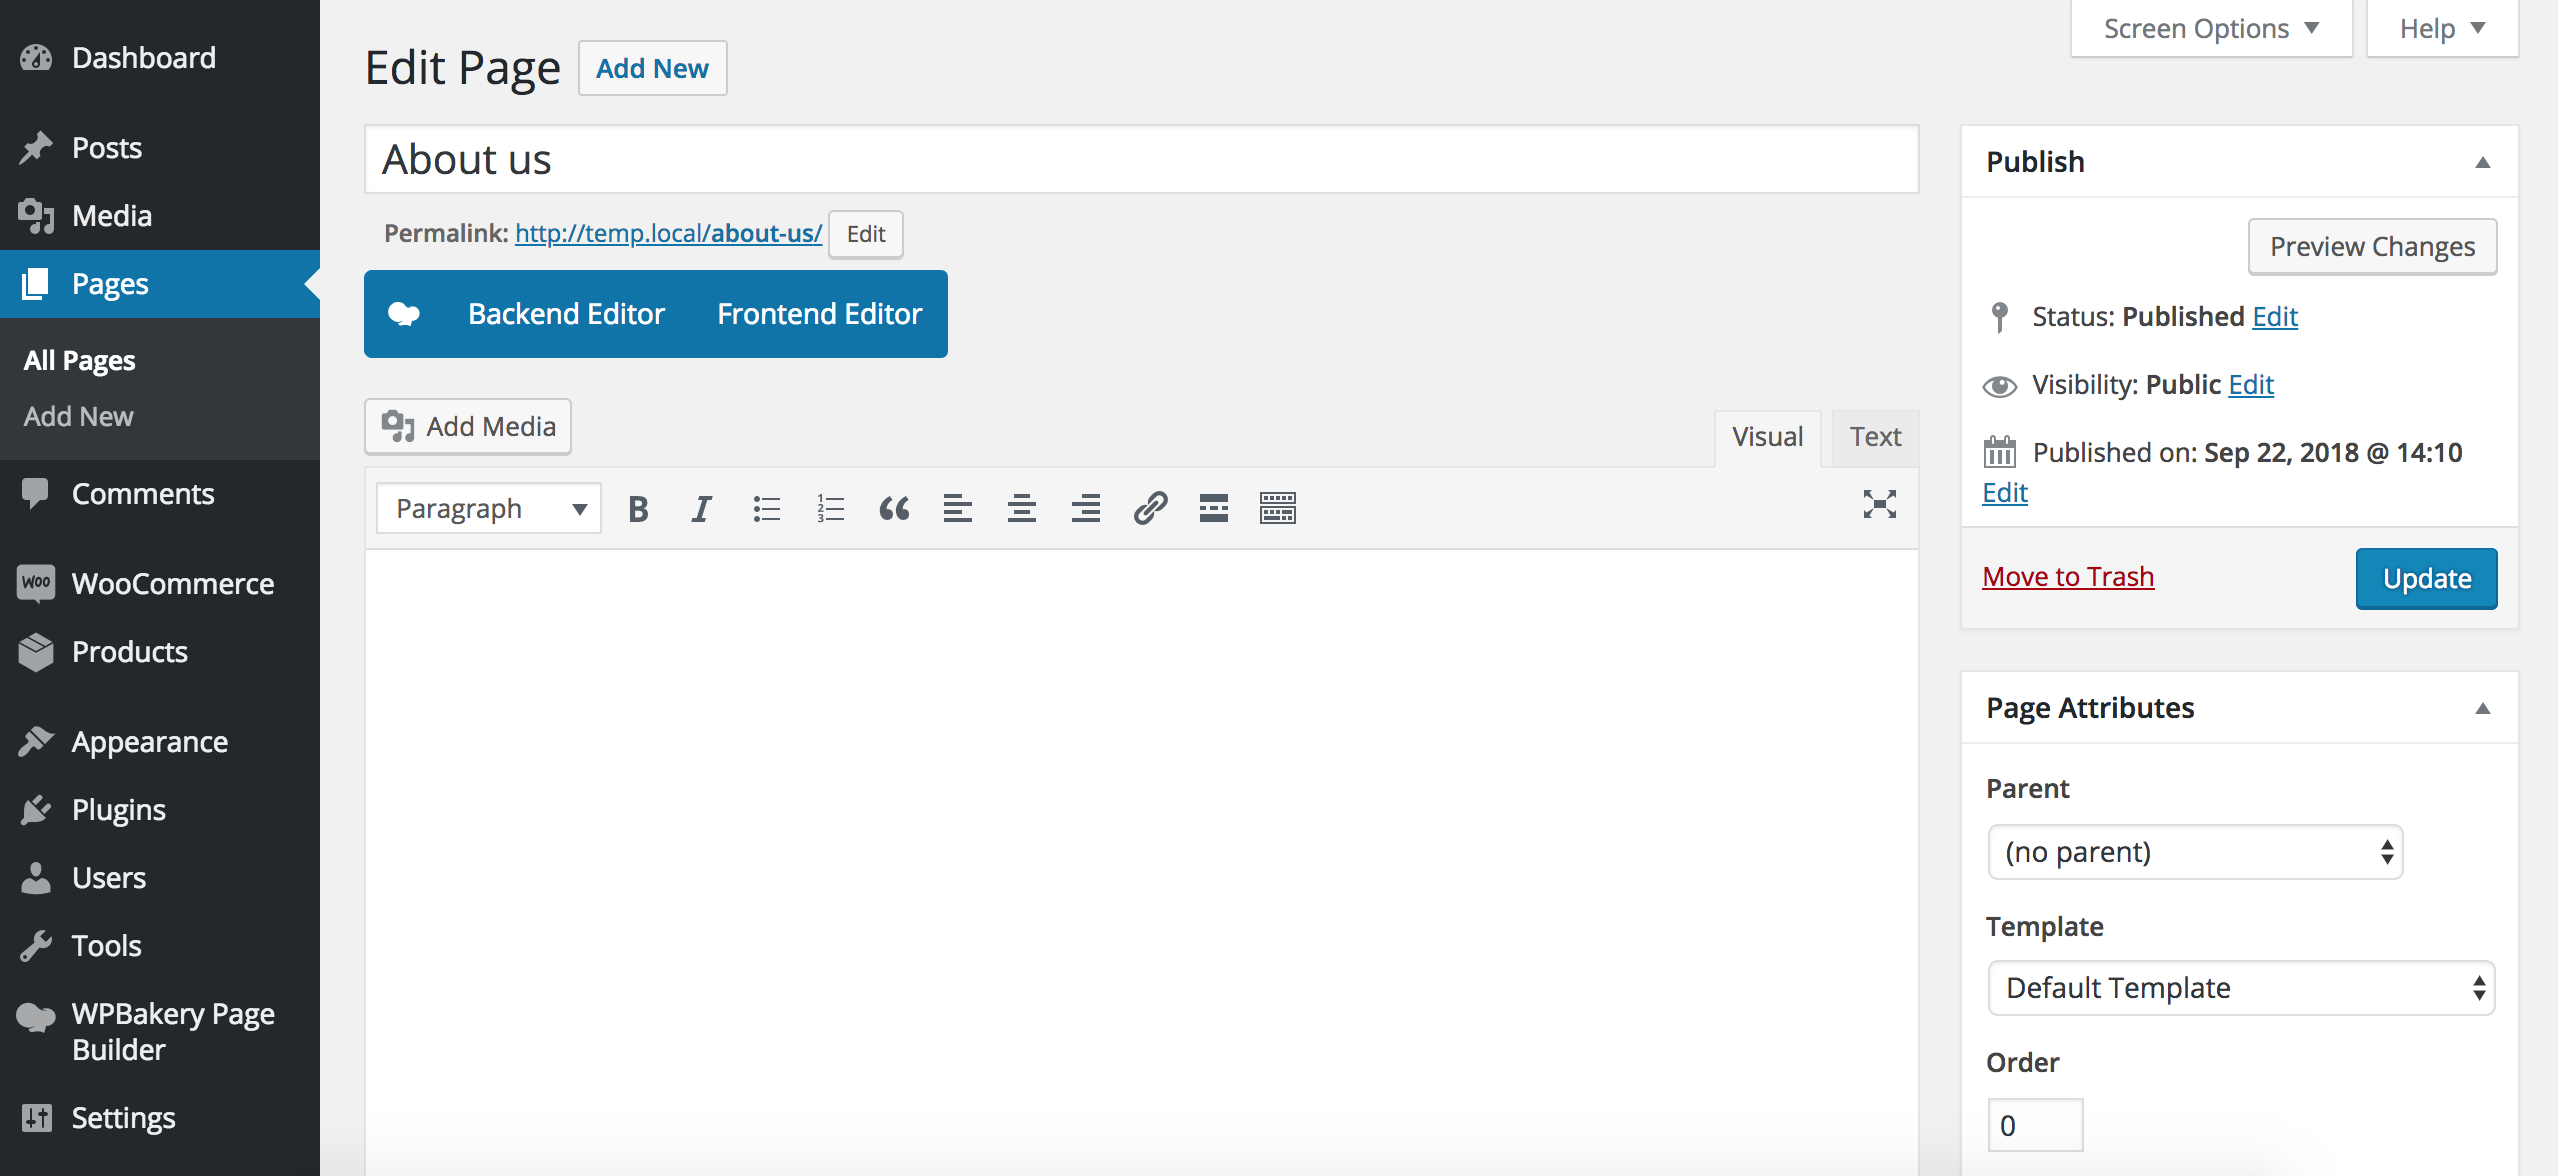
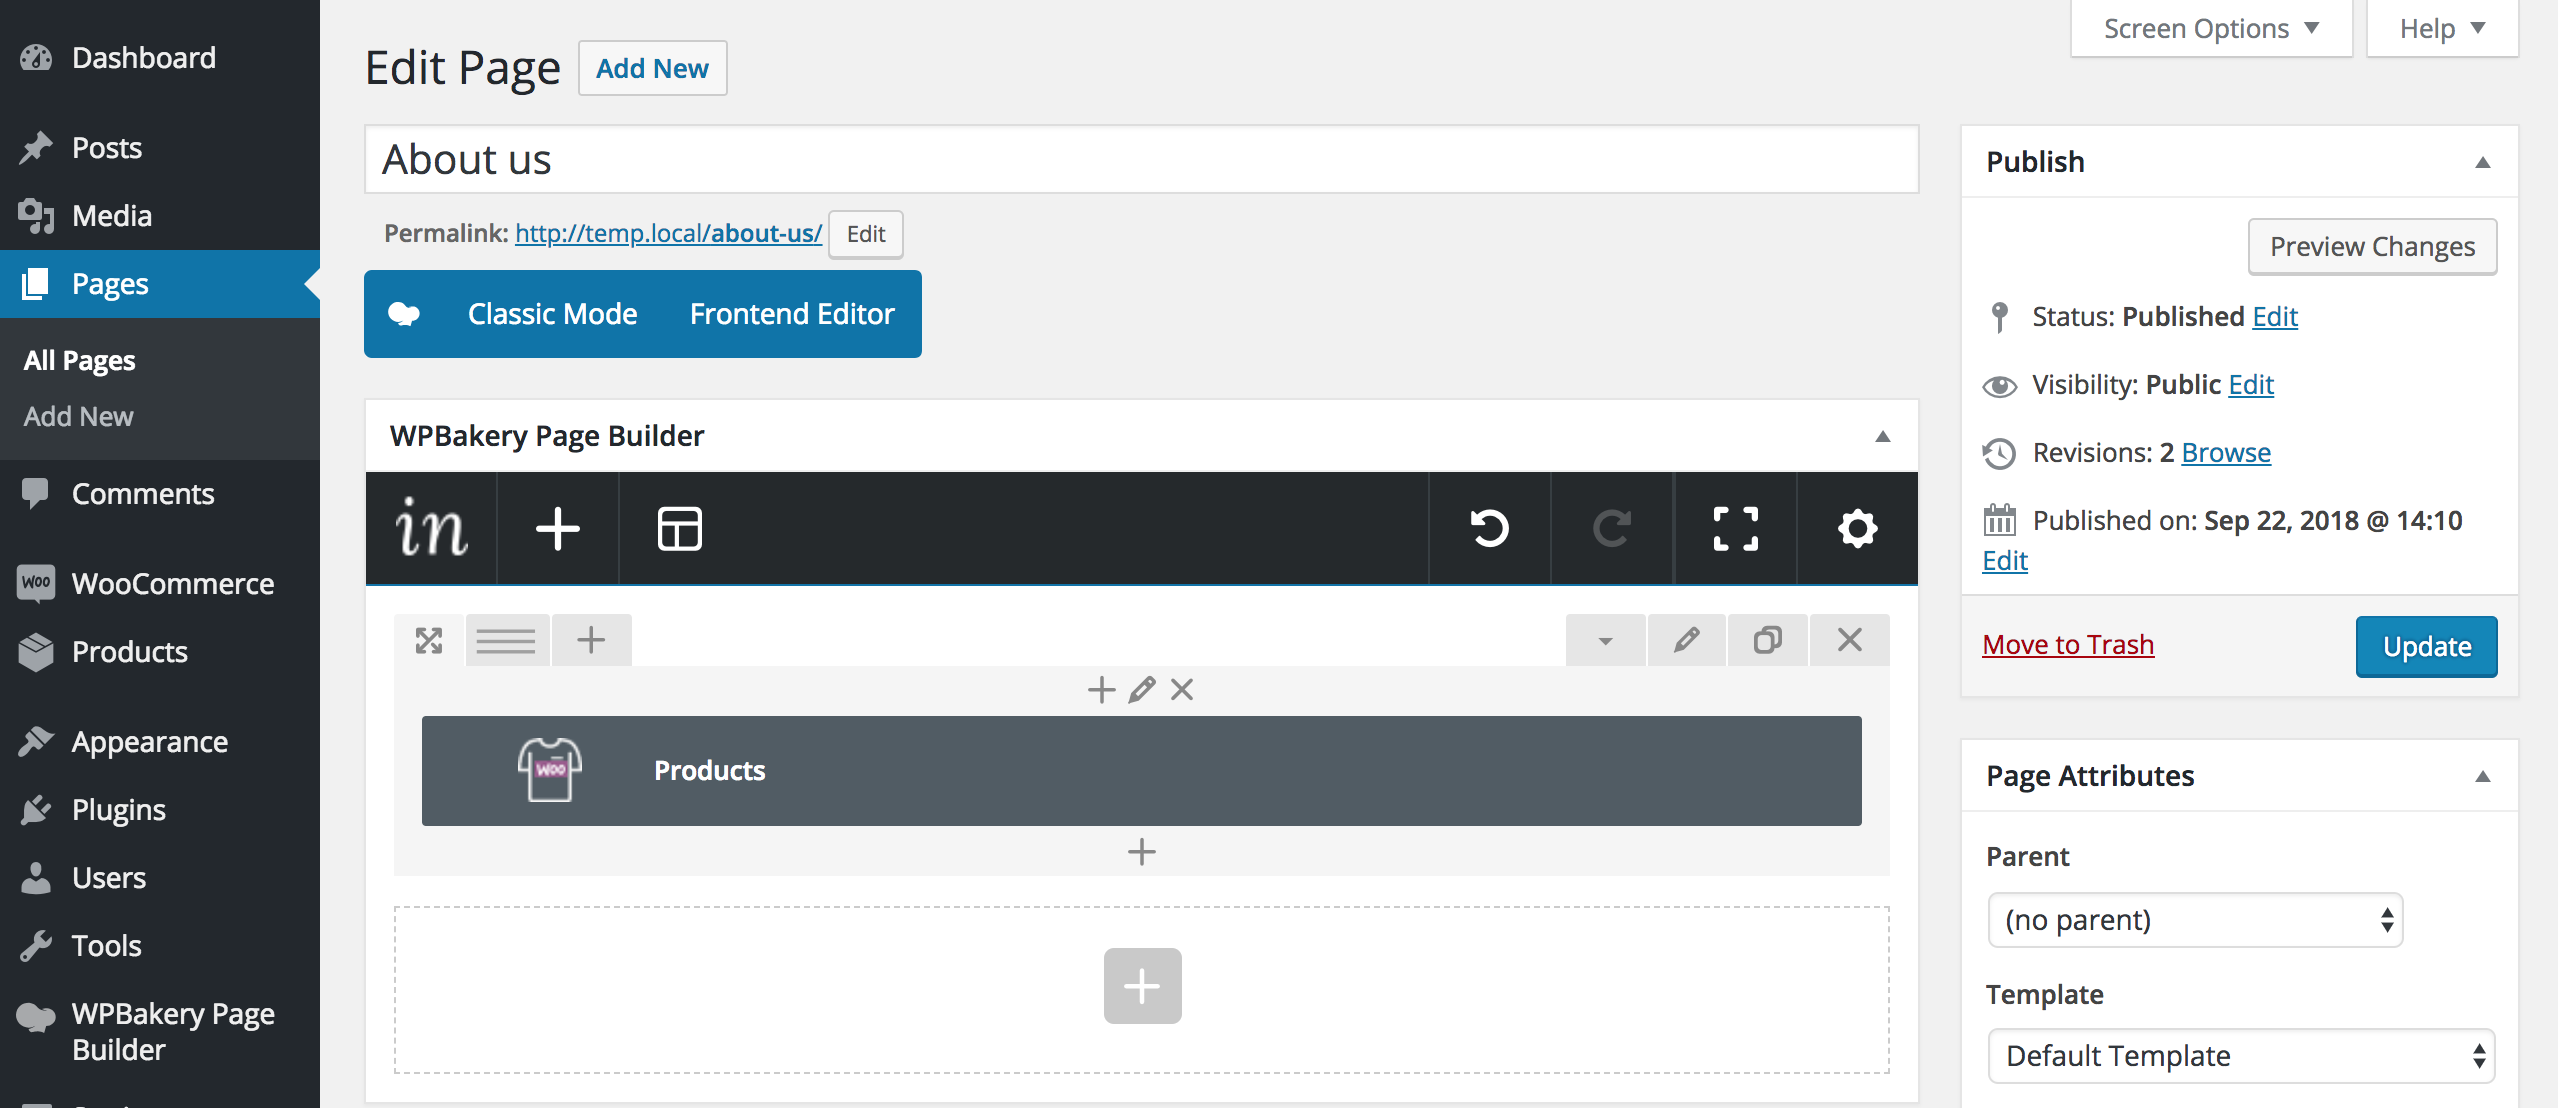
You can then navigate to the page you'd like to edit from the 'Pages' section in the WordPress admin. Clicking on the page title will navigate to the 'Edit Page' screen.

From the 'Page Edit' screen ensure to first enable the 'Backend Editor' option.
* Note that if the 'Backend Editor' option has already been chosen you would see the 'Classic Editor' and 'Frontend Editor' options shown instead.
Add an Element
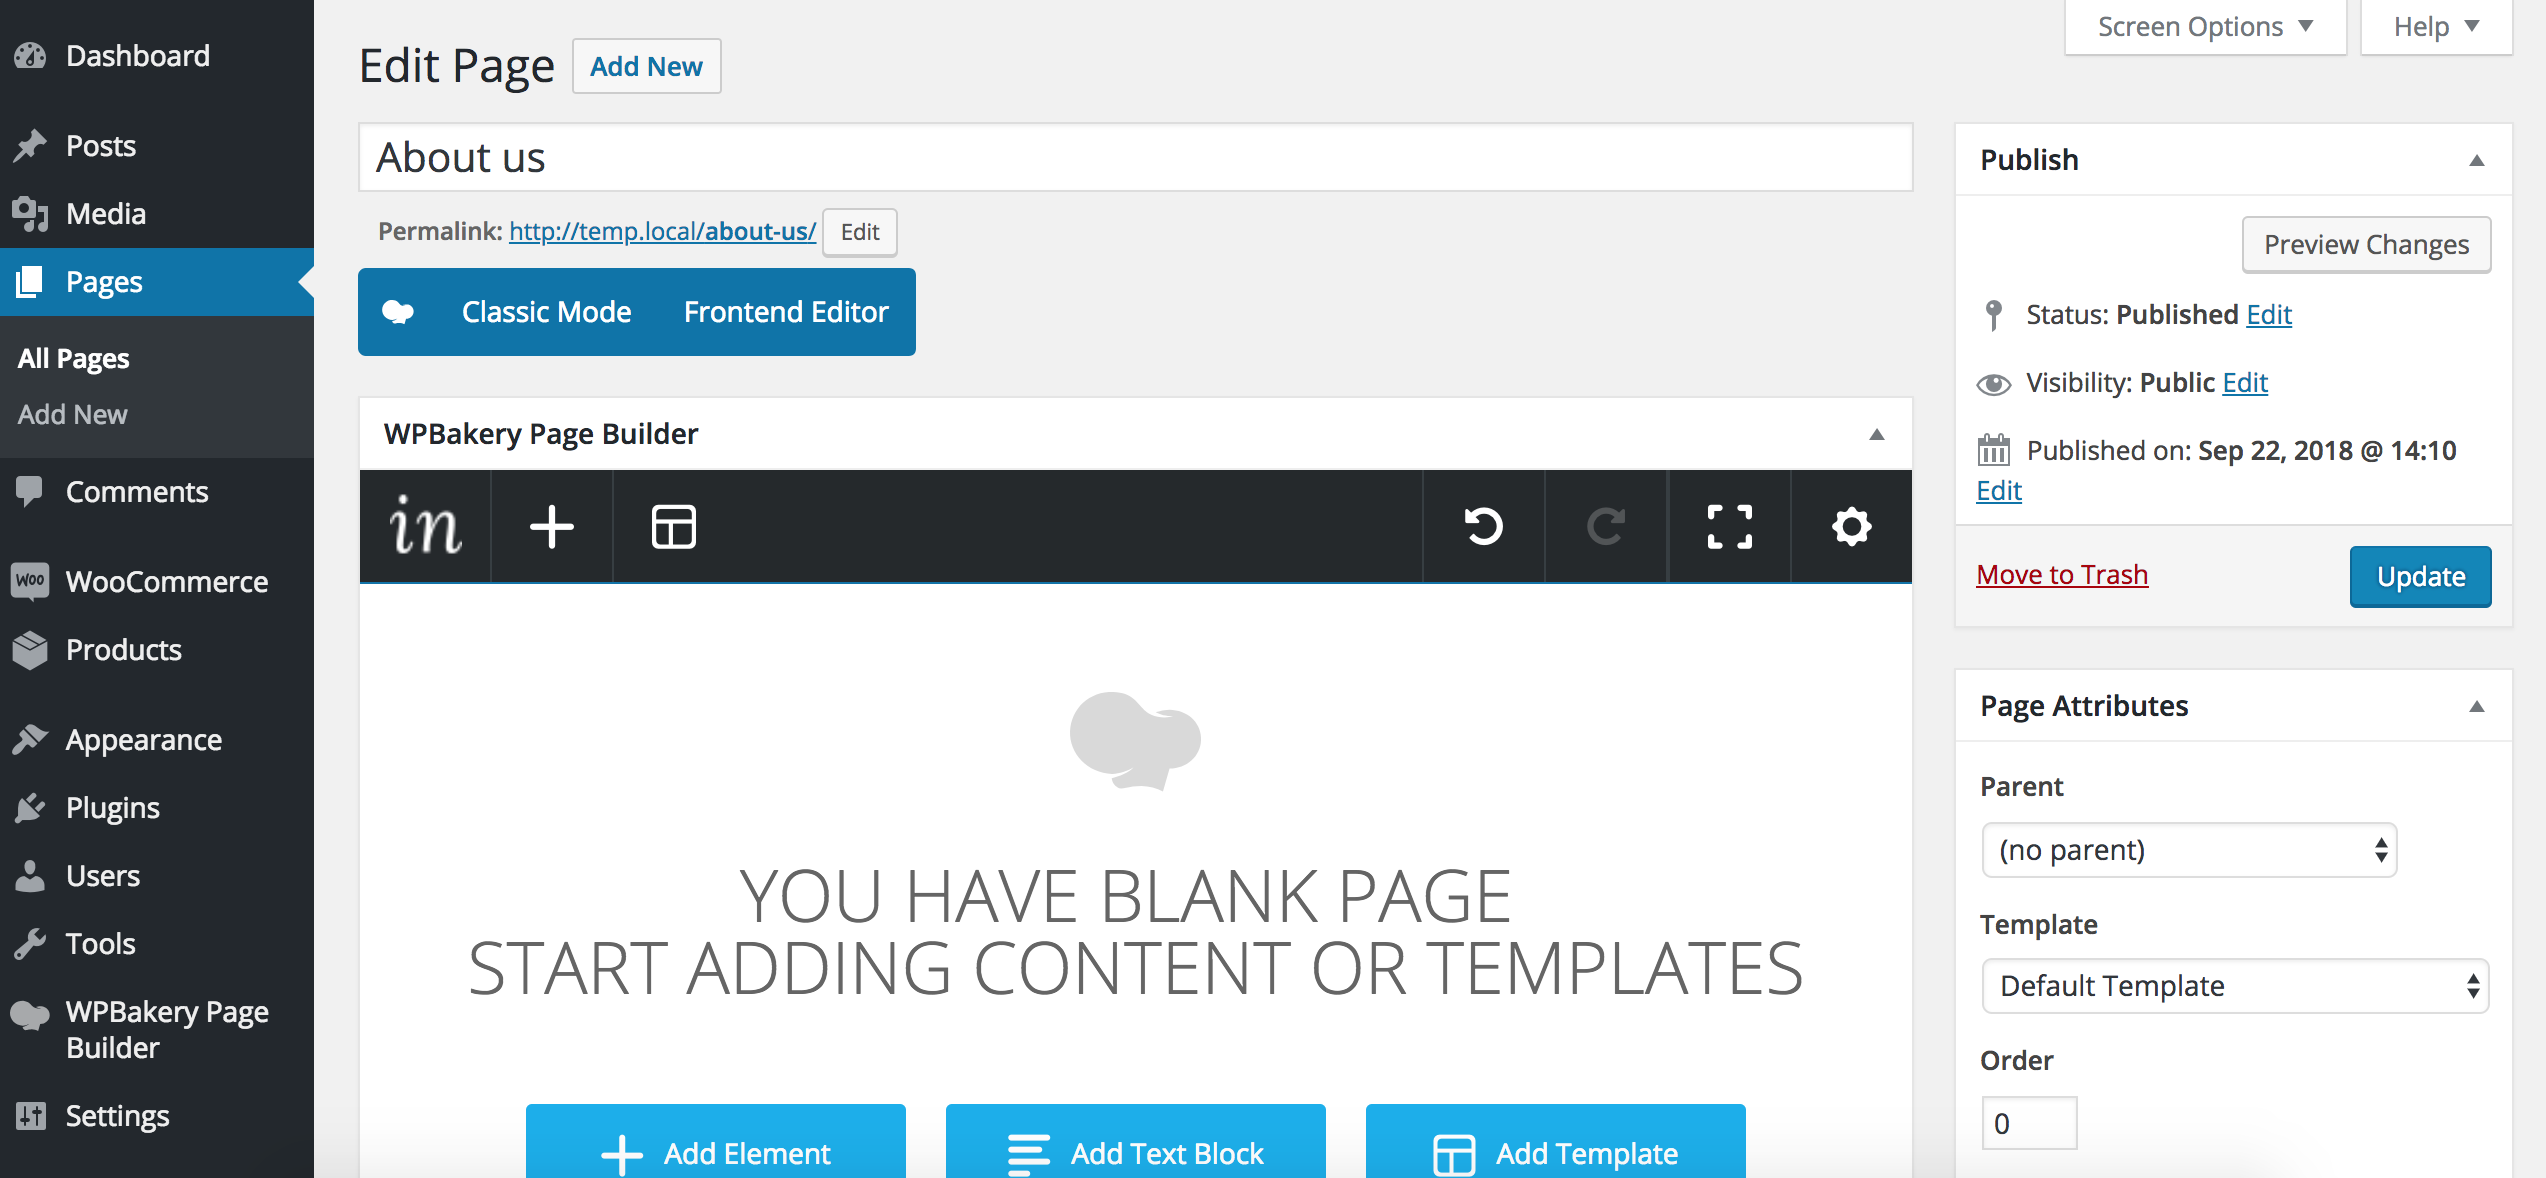
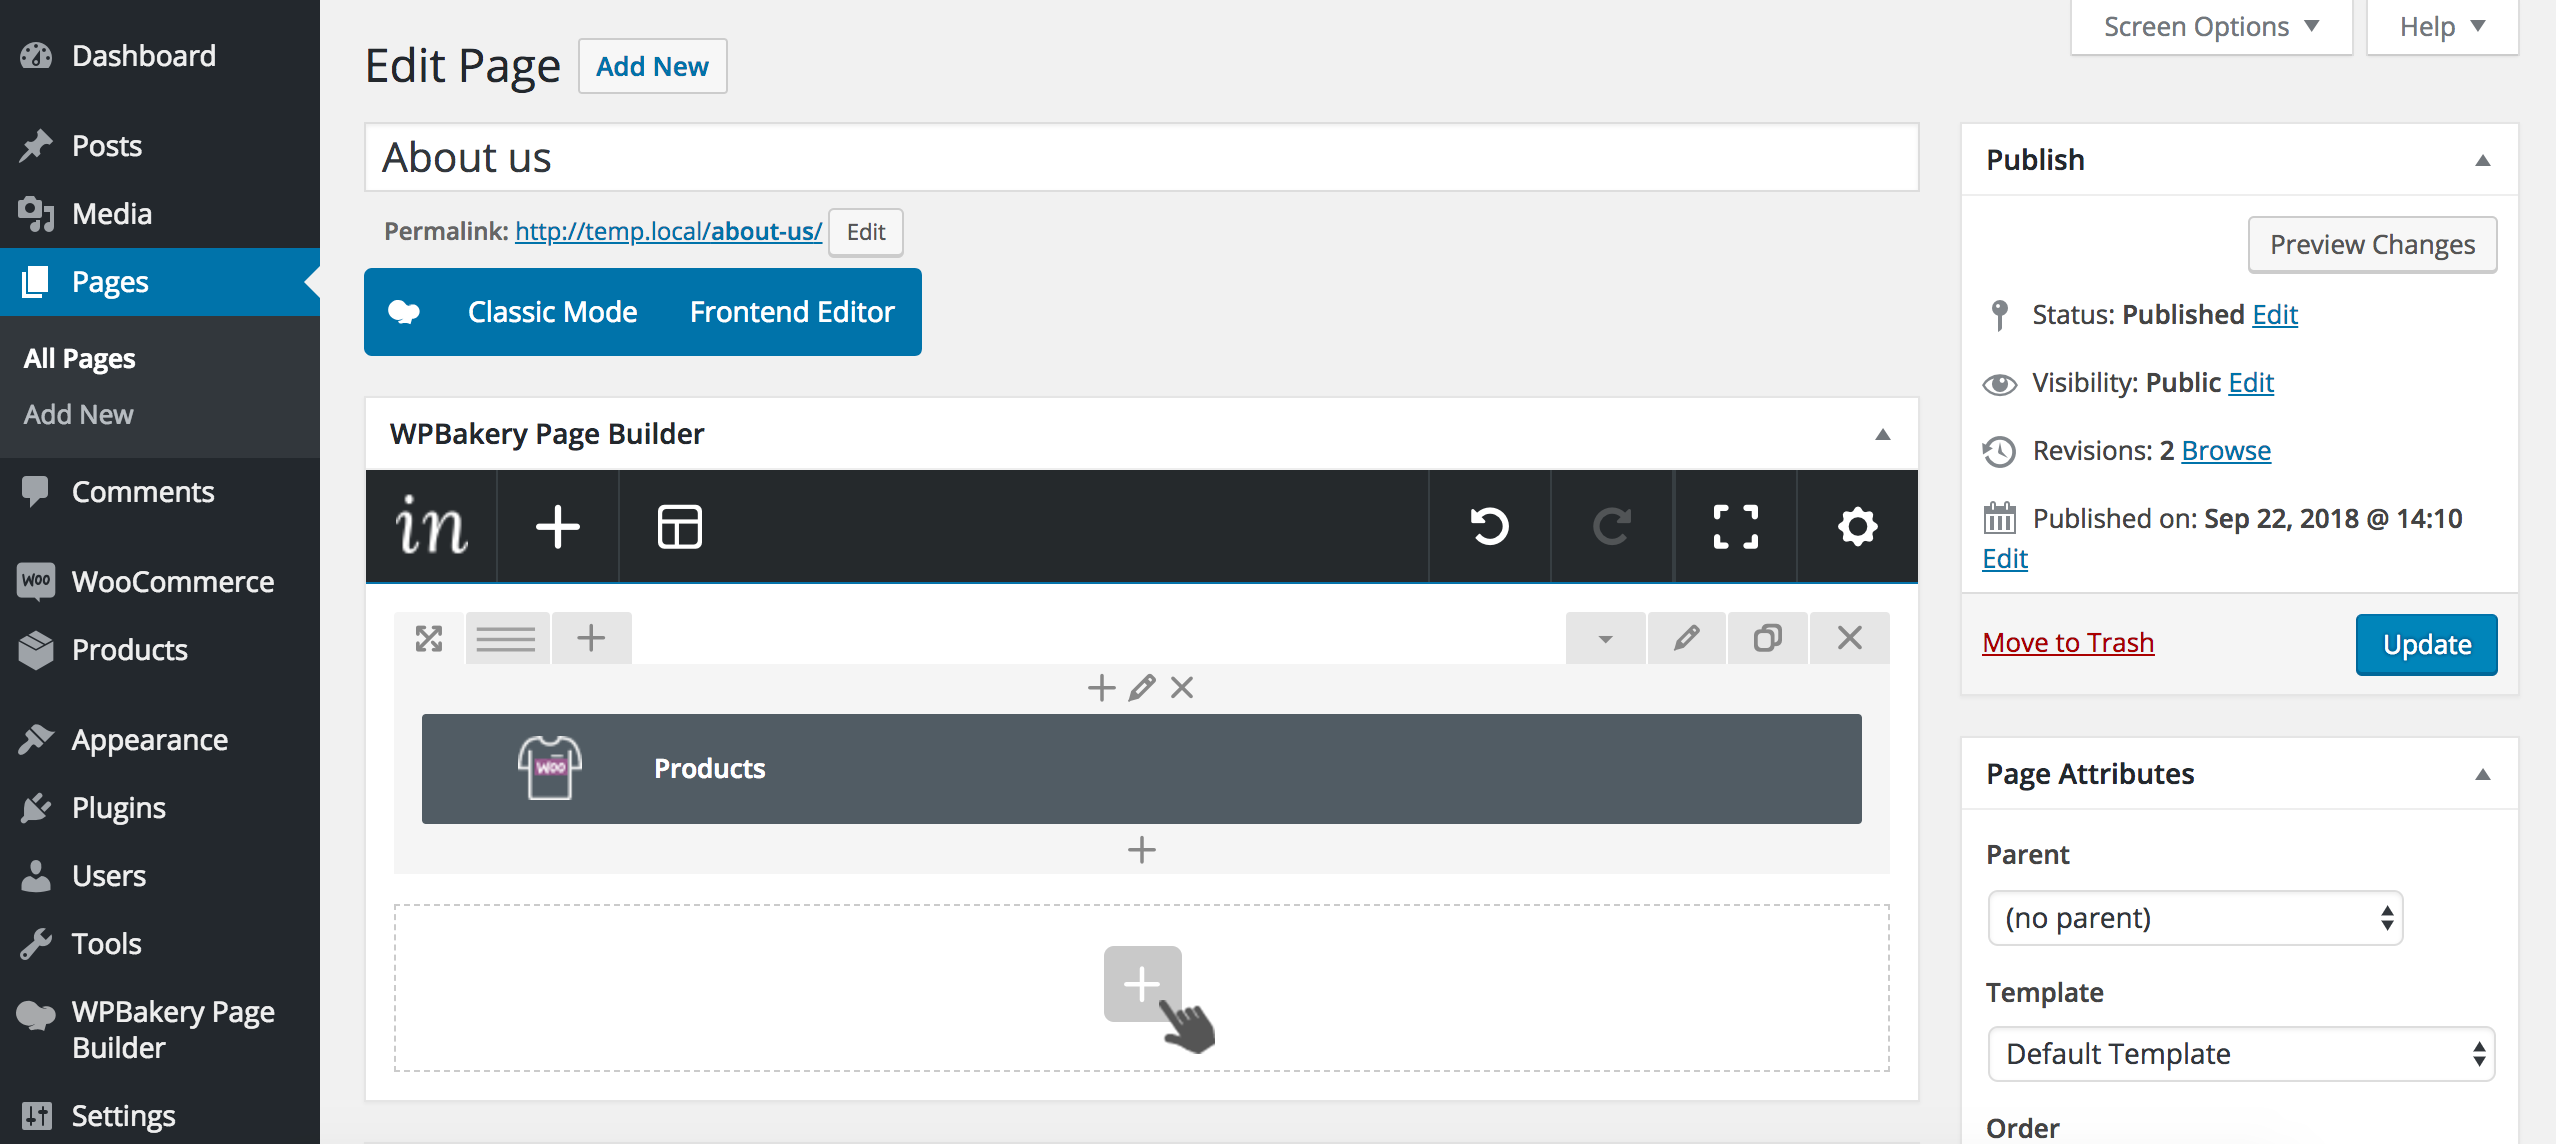
With the 'Backend Editor' option enabled you can begin by either clicking the blue 'Add Element' button or the '+' button in the darker top bar to add your first row and page element.
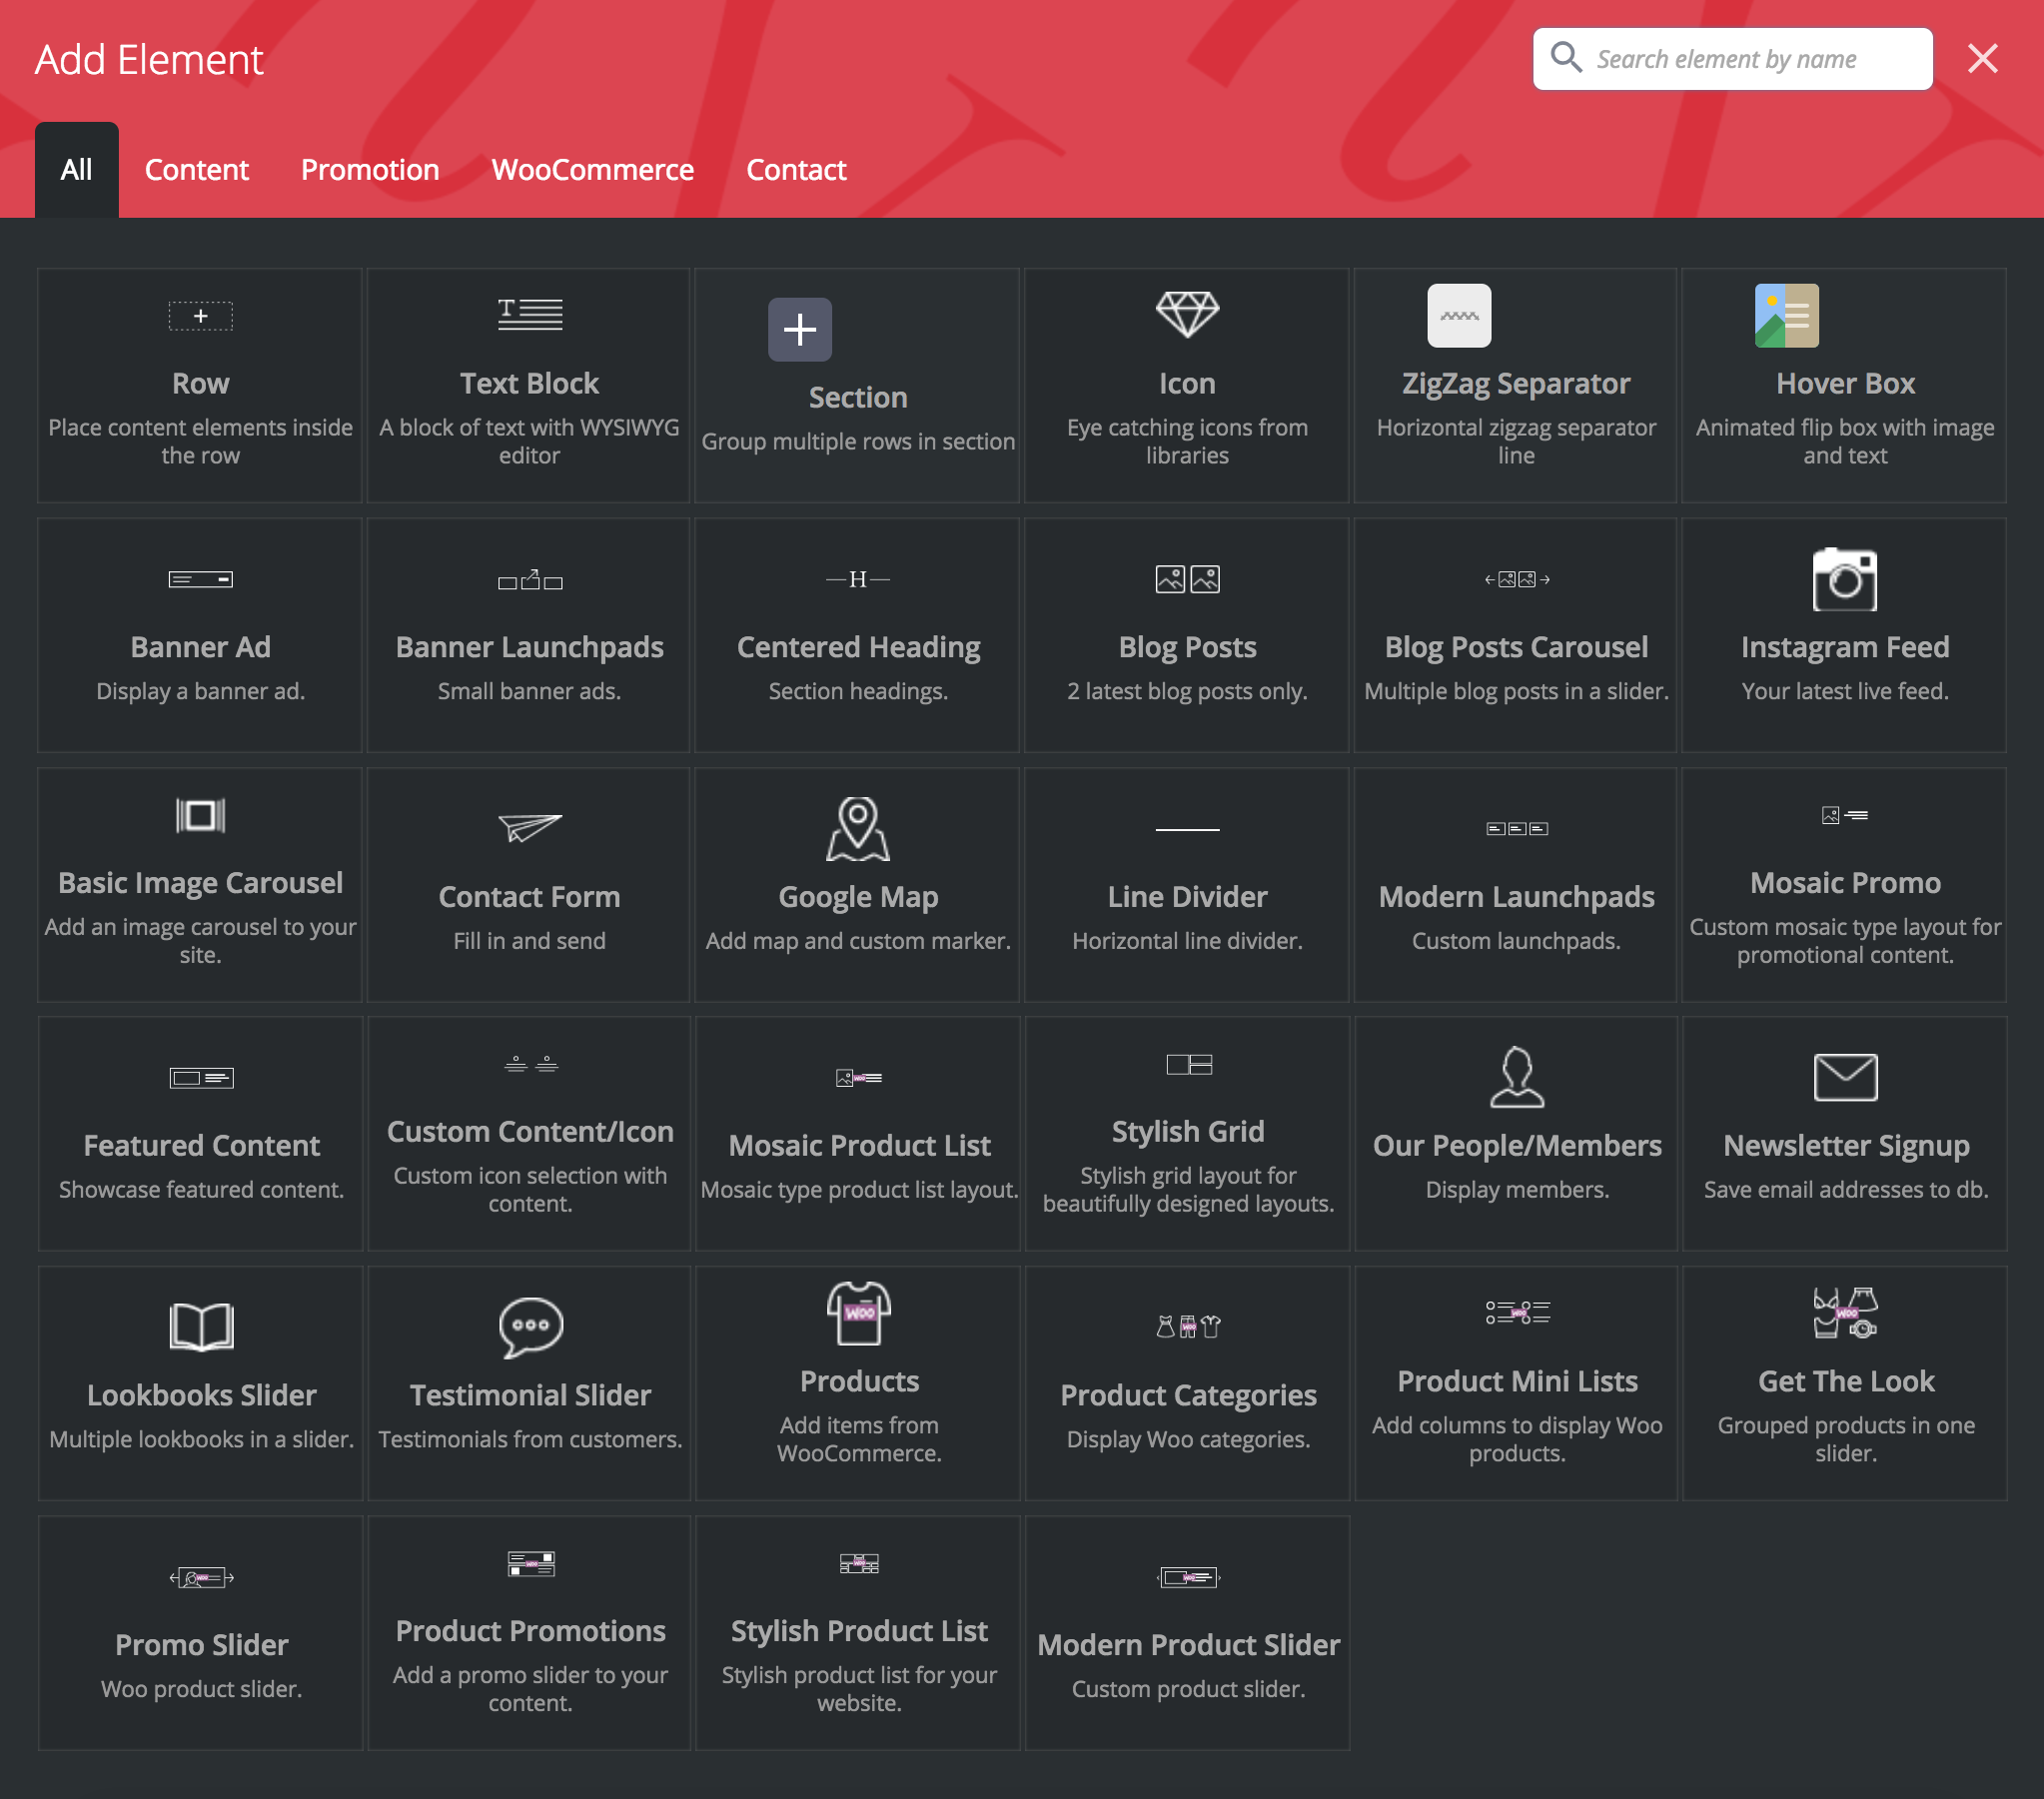
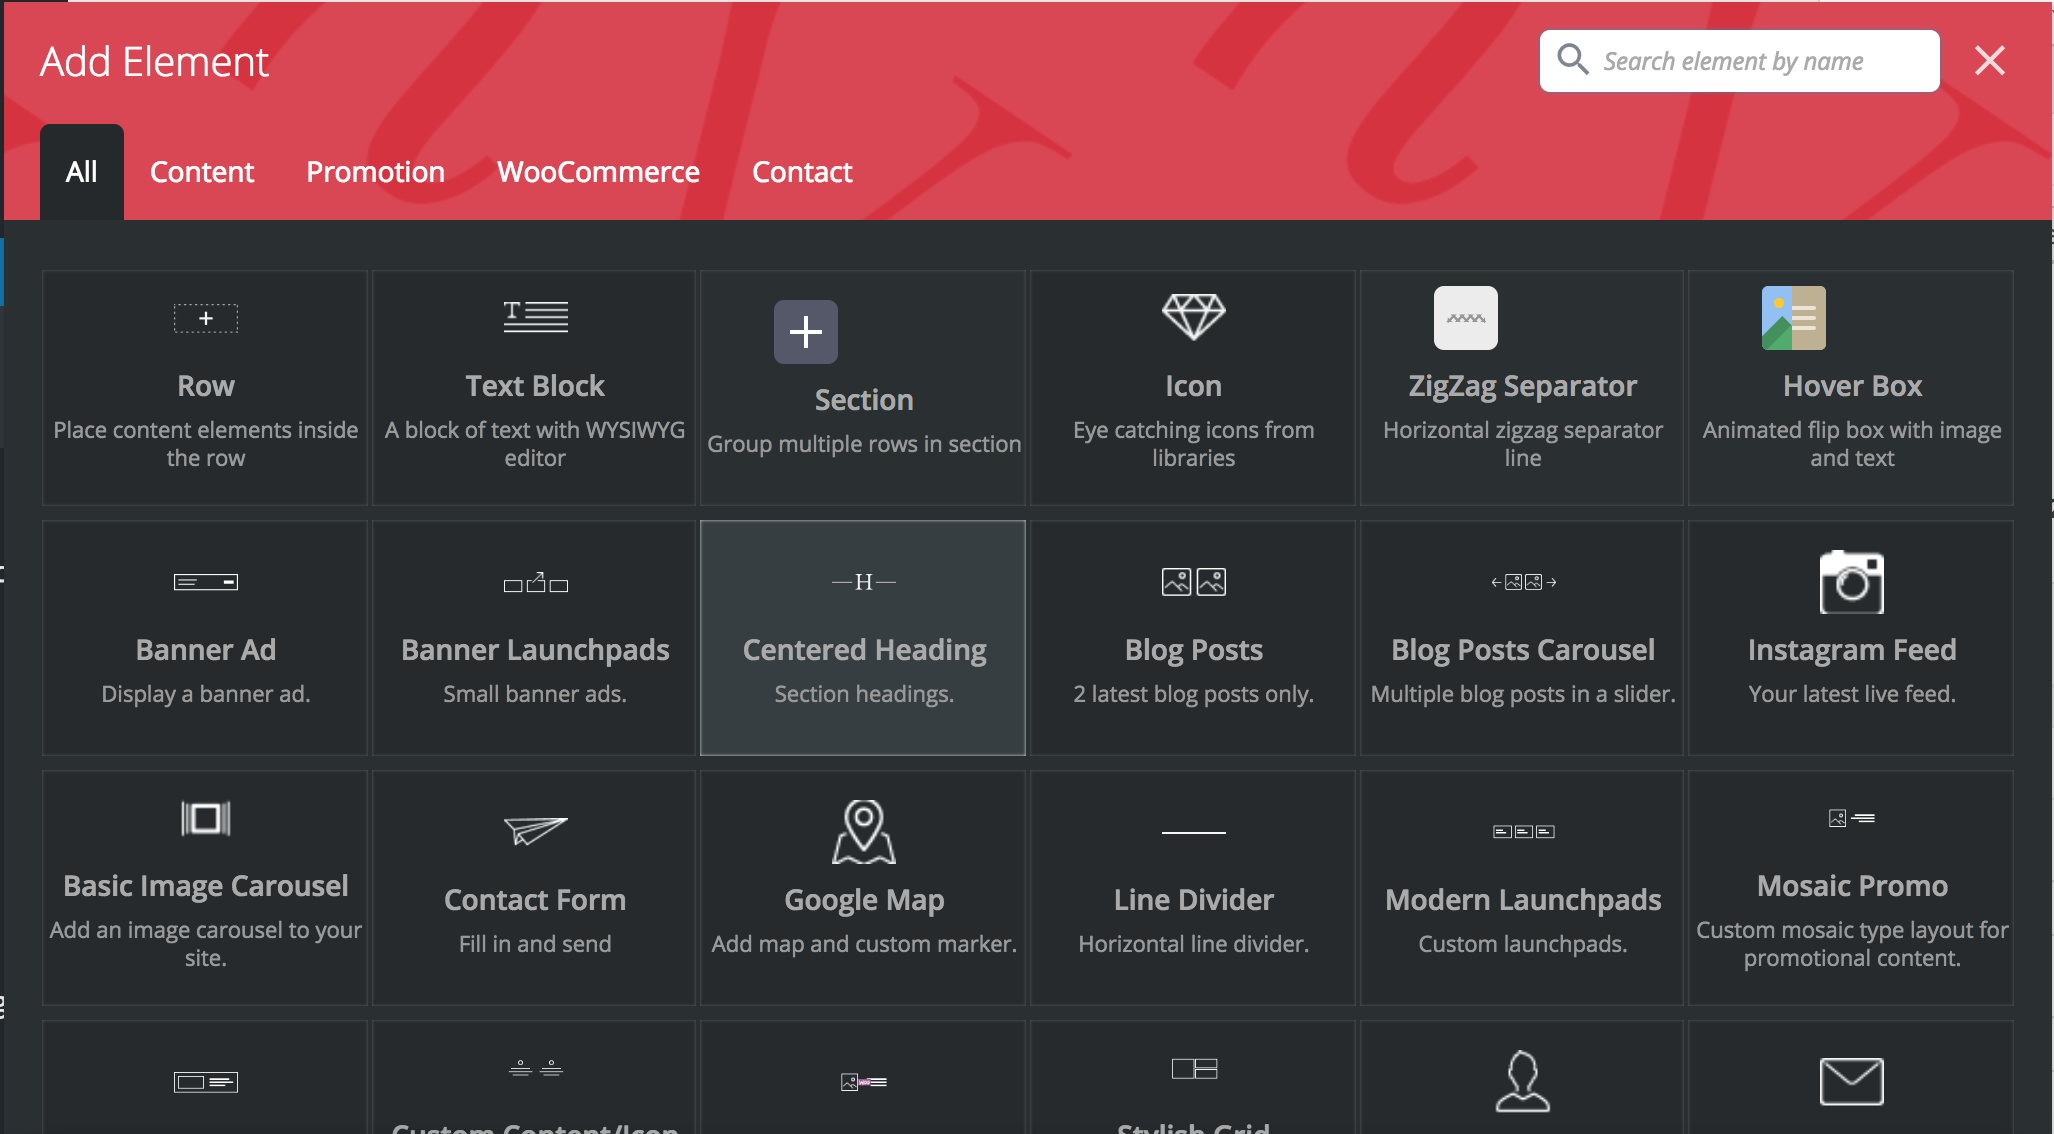
When either one of these buttons is clicked a popup will open showing a list of the available inVogue page elements. In the example below, we've selected the 'WooCommerce' tab to show just the elements related to WooCommerce and products.

From here we will select the 'Products' element which will open up the settings options for this element. In this popup, we can set the product categories this element will display by entering the category name in the 'Categories' field.
* Note that empty categories which do not contain at least one published product will not be available for use.
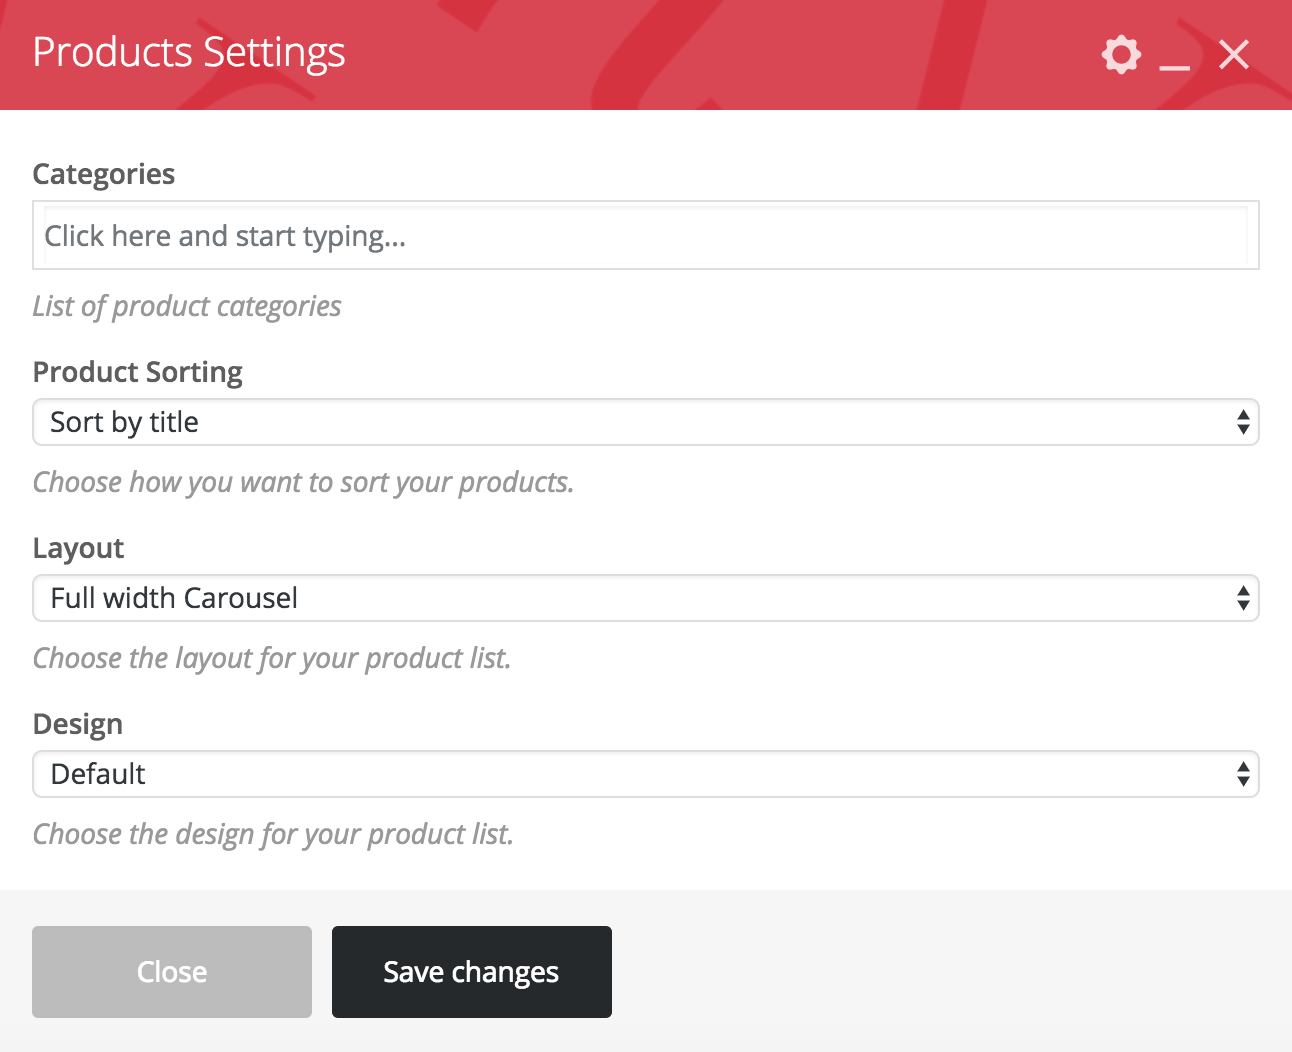
Once you've entered the relevant category name you can click the 'Save changes' button for the element to be saved and added to the page content.
Add a Row
To add a new row and element you can click the '+' button below the newly added 'Products' row.
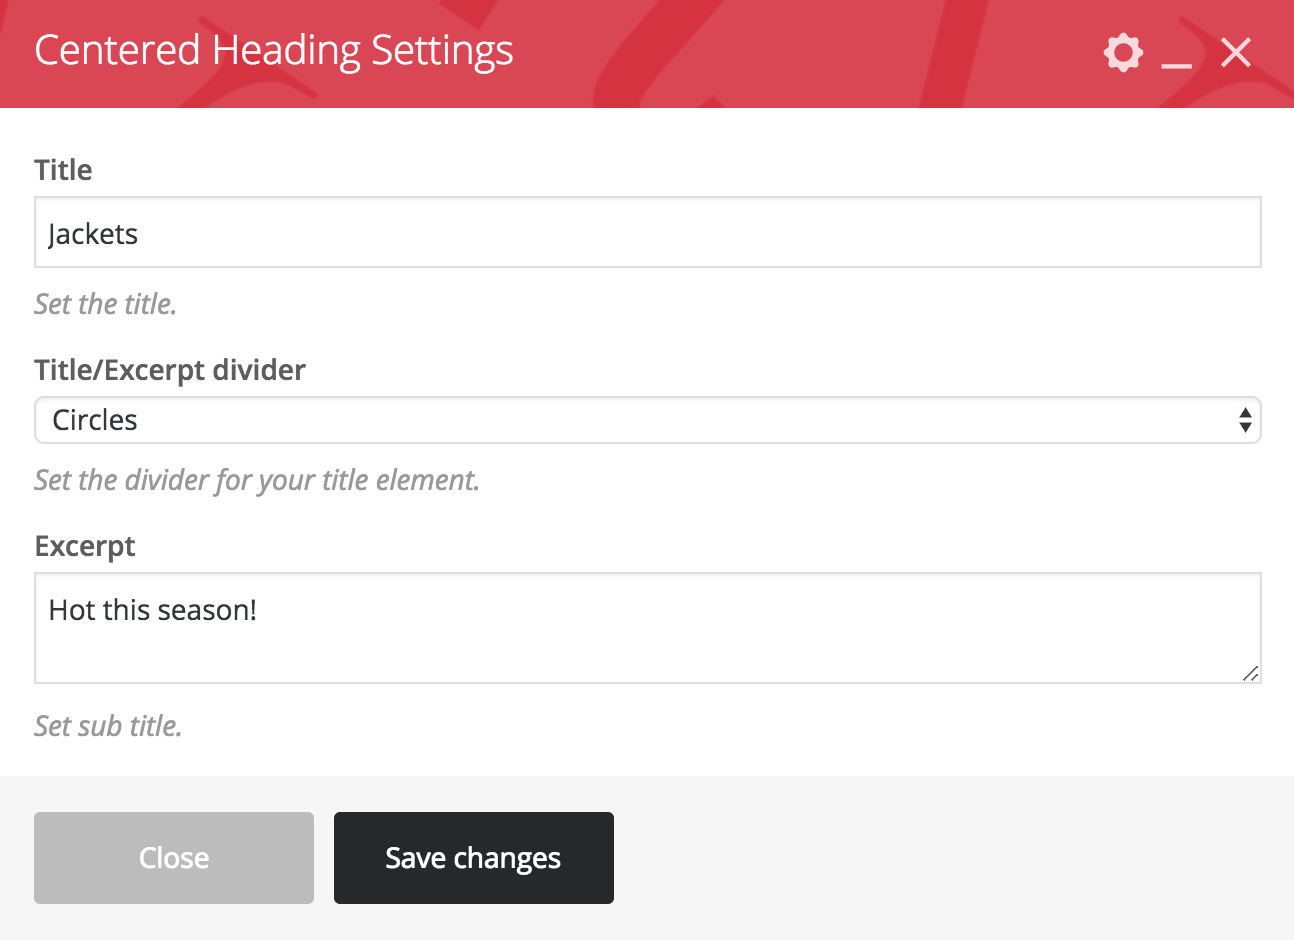
For the new row, we'll use the 'Centred Heading' element.
For this element's settings, we'll enter a 'Title', select a 'Title/Excerpt divider' and enter an 'Excerpt' for the subheading. Remember to click 'Save changes' to save the element settings and add it to the page content.
Edit an Element
If you need to edit the element settings you can hover over the element within the row and from the hover popup select the 'Edit' option.

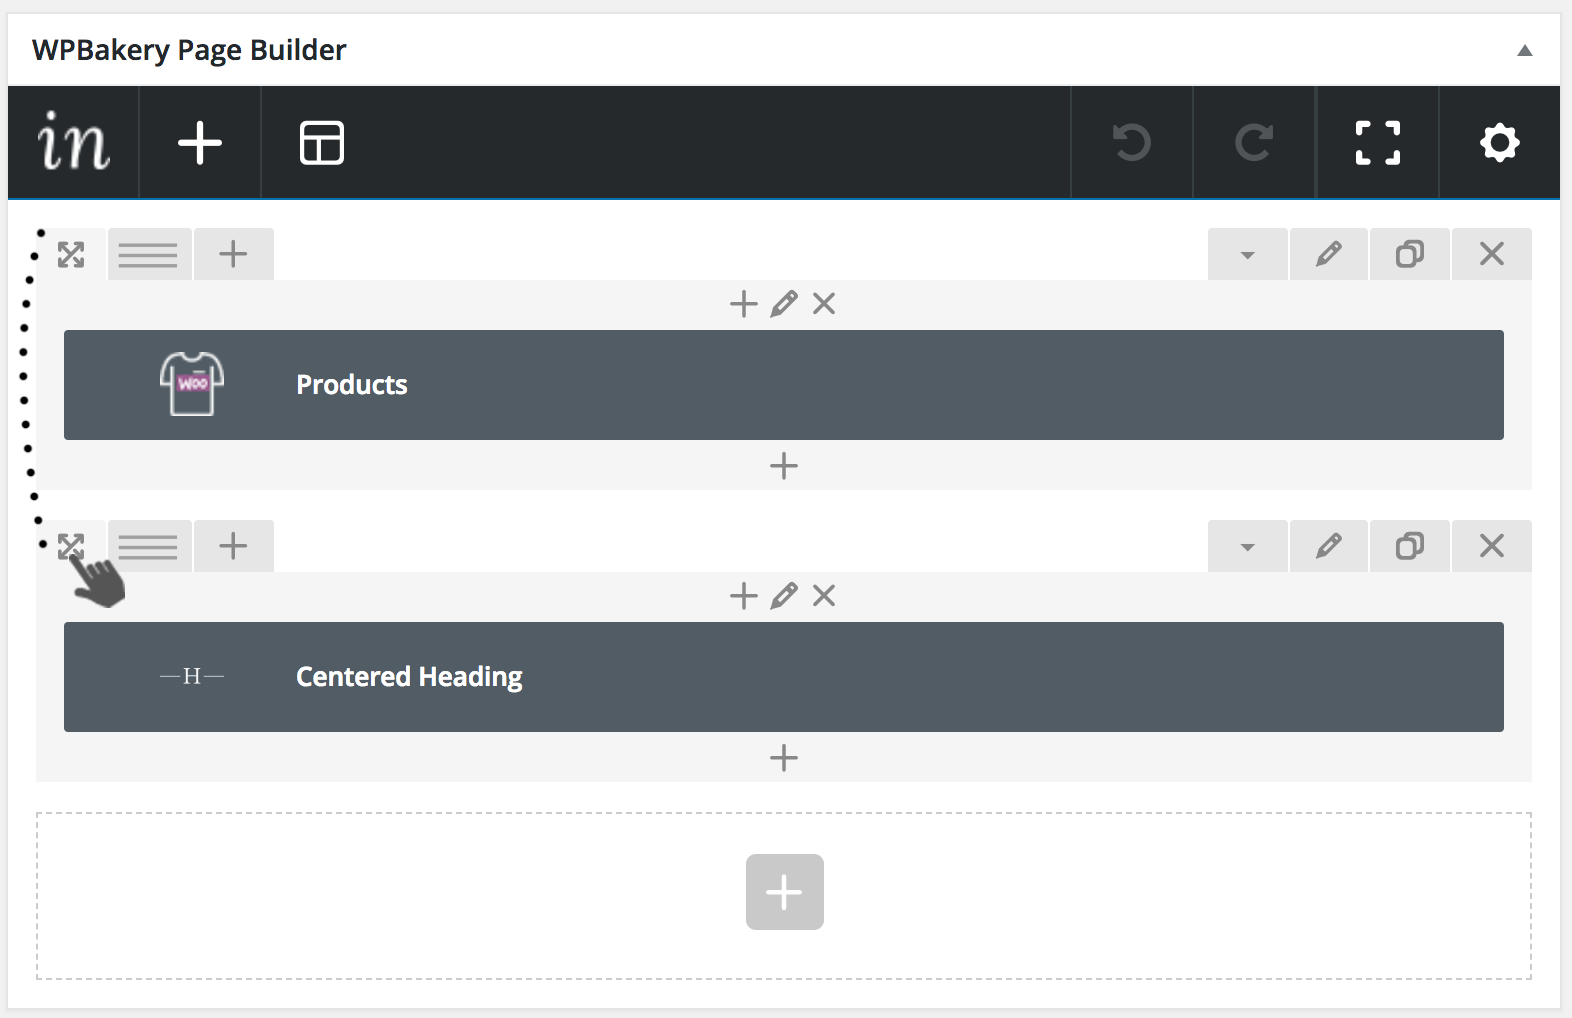
Order Elements on the page
To re-arrange the structure and have our title above the products we can click and drag the entire row to re-position it.
Delete an Element or Row
To delete a row you can click the 'Delete' button at the top left of a row.

To delete an element in a row you can hover over the element and from the hover popup select the 'X' delete option.
