Each element that can be added to the slider has its own button – each of which will open a dialogue box containing the settings and fields for that particular element.

Each of the elements follows the same procedure for being added to a slide, and each element is contained on its own layer, giving you the ability to freely move elements about the canvas.
Clicking on the Text button will open the Text Element dialogue box (pictured below).

Add the text you want to display to the content box, and use the Content width field to specify the width of your content area. Should your text contend be wider than the content area you have defined, the text will wrap. The styling options will allow you to adjust the appearance of your text. In order to turn the element into a link, add the link details (URL, Alt text and target) – if you leave these fields blank the element will not link and remain static text.
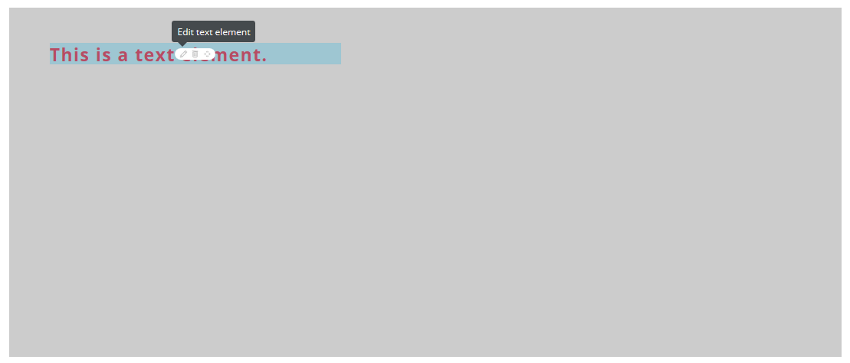
Once you have completed all the fields in the dialogue box to your satisfaction, click on the Add Element to Slide button, and the text will be added to your slide, as pictured in the example below. Should you wish to edit or reposition the element, hover your cursor over the text – this will highlight the element and make the edit, delete and move controls appear. Clicking on edit will reopen the dialogue box. You have the option of enabling a grid that will aid you in positioning your element where you want it.