CONTENTS:
Where to manage custom map markers
Upload marker packs
Upload individual custom map markers
Where to manage custom map markers
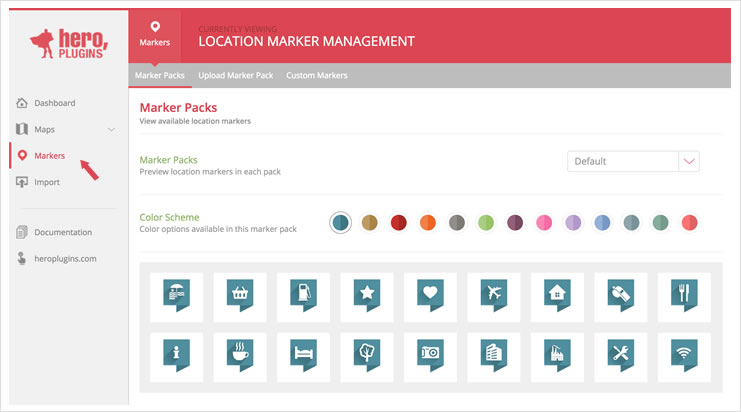
To manage installed markers and marker packs, navigate to Hero Maps >> Markers in the plugin admin. By default, it will open on the Marker Packs tab. Here you can preview installed marker packs & individual custom markers.
Upload marker packs
Navigate to the upload marker pack tab, here you can upload purchased and downloaded marker pack files (in .zip format). We provide a few default sets of marker packs to get you started that you can download from our site here. The packs will be automatically installed on upload and available to be previewed in the Marker Packs Tab.
Upload custom map markers
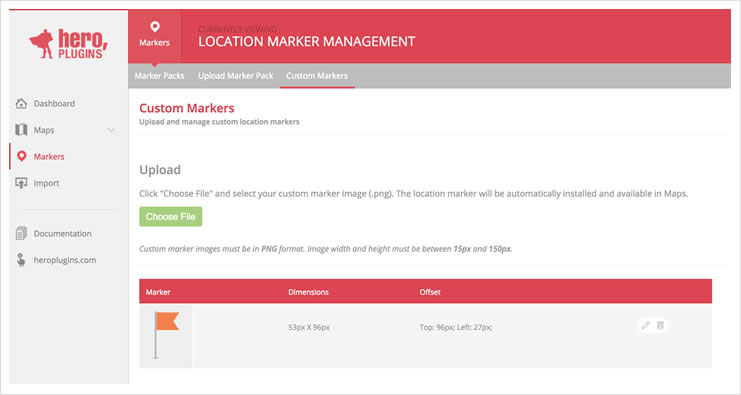
Hero Maps allows you to upload and use your own custom markers. Custom marker images must be in PNG format with a width and height between 15px and 150px.
Navigate to the Custom Markers tab and click on the Choose File button and browse to your custom marker, select it and click open to upload. If the upload is successful you will see your marker appear in a list below, with an Upload Success message.
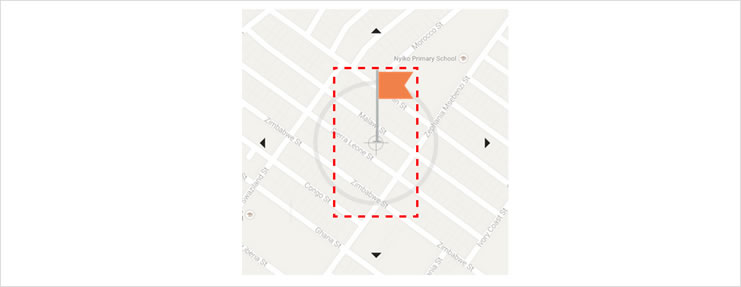
When clicking on the edit button to the right of the marker in the list, you can adjust the marker offset in the window that opens – this will also provide you with a preview of what your marker will look like when placed on a map.
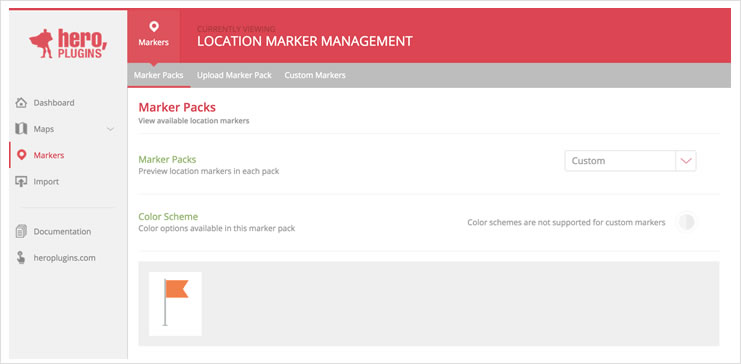
You will also notice when navigating back to the Marker Packs tab, that any custom markers you add to will appear when you select Custom from the Marker Packs dropdown.
Delete a custom map marker
You can delete a custom marker by clicking on the trash bin icon to the right of the icon in the list in the Custom Markers tab.