Menus in WordPress are created from the 'Appearance > Menus' page.

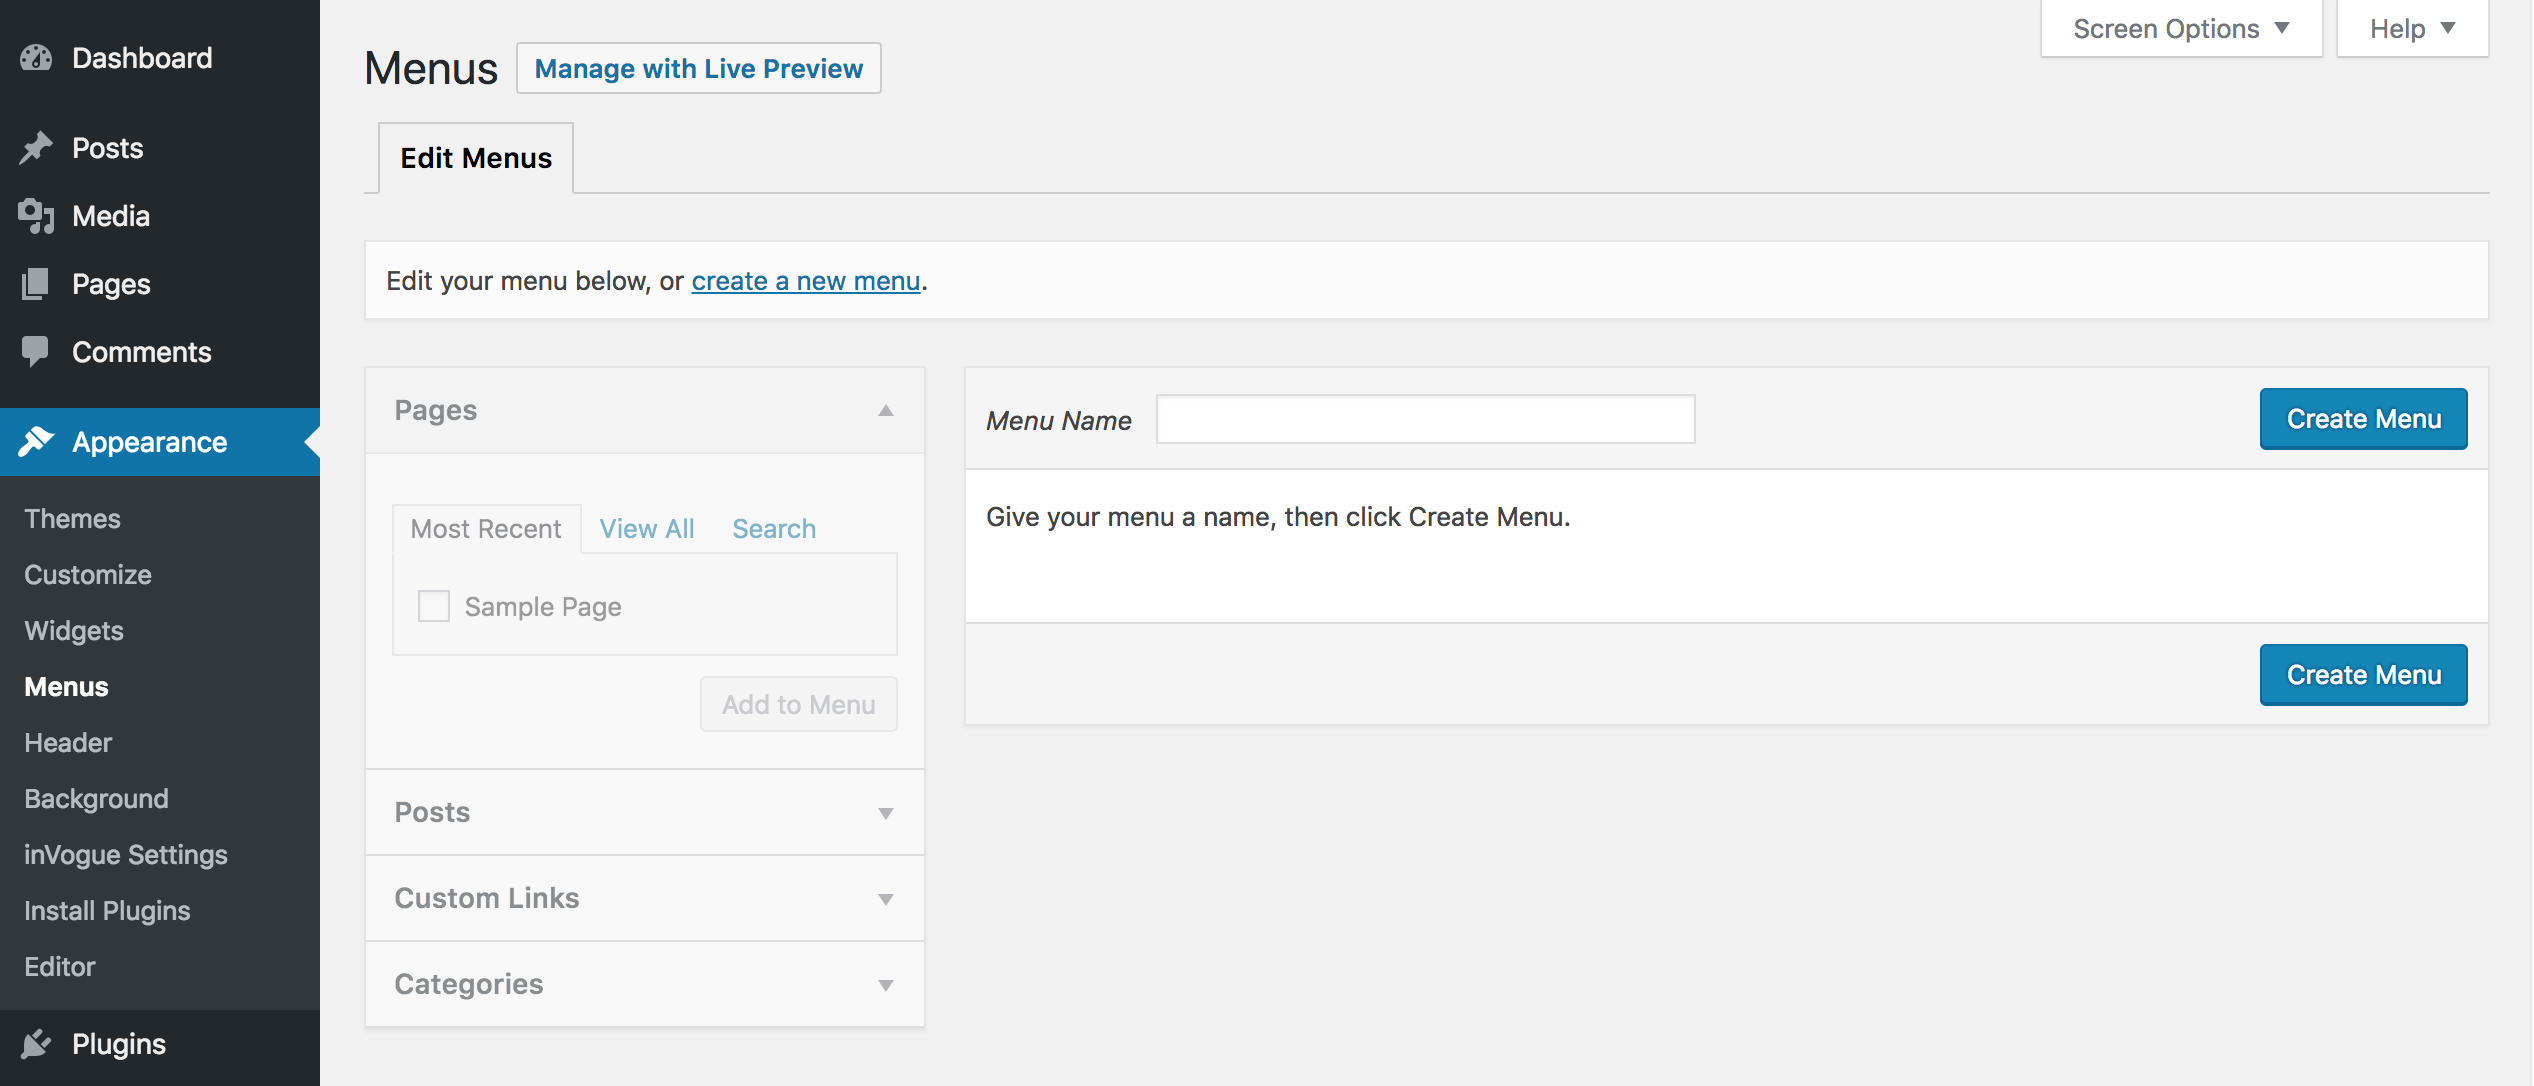
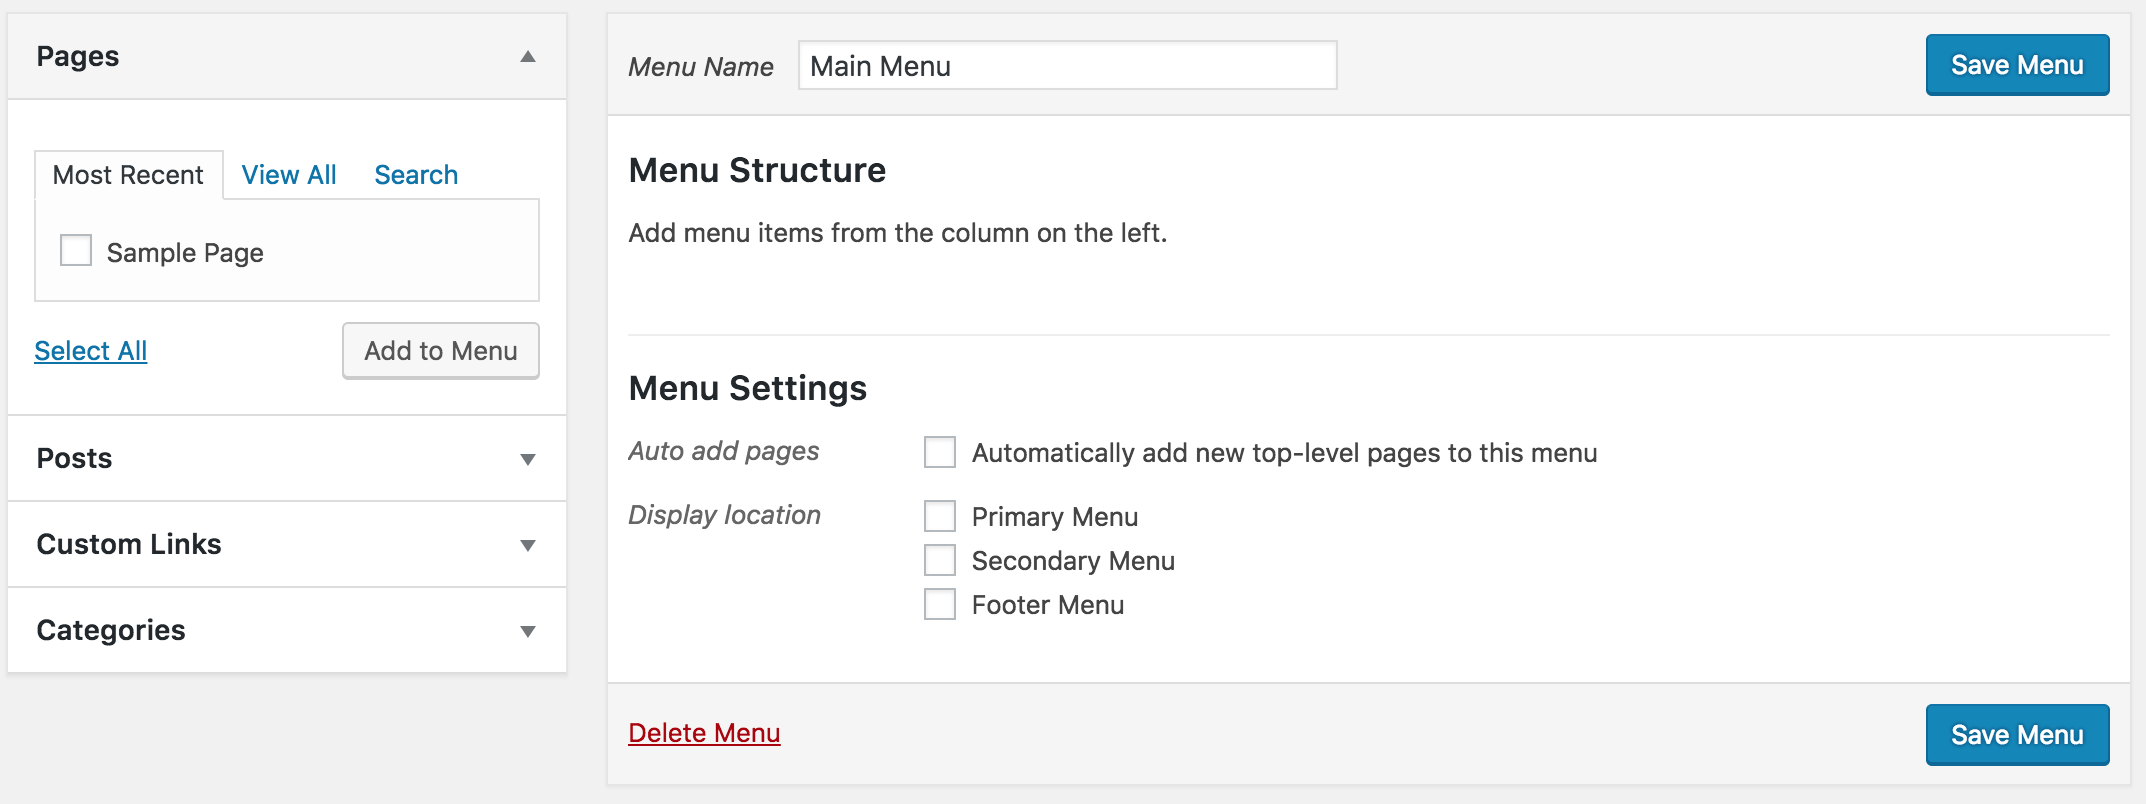
If you do not yet have a menu created you can begin by entering a name for your new menu in the 'Menu Name' field and clicking the 'Create Menu' button. In the below screenshot we've created a menu named 'Main Menu'.

You can add links to your menu by selecting the checkbox next to the relevant link from the accordion section on the left hand side and clicking the 'Add to Menu' button. In the below example the 'Sample Page', from the 'Pages' section, has been added to the menu structure.
The menu should also be assigned to a location where it should be displayed from the 'Menu Settings' section on this page. With inVogue the 'Primary Menu' location is the main header menu.

* Please note that the 'Secondary Menu' location is listed by default in WordPress but inVogue does note have a secondary menu location. Only the 'Primary Menu' and 'Footer Menu' locations are used.
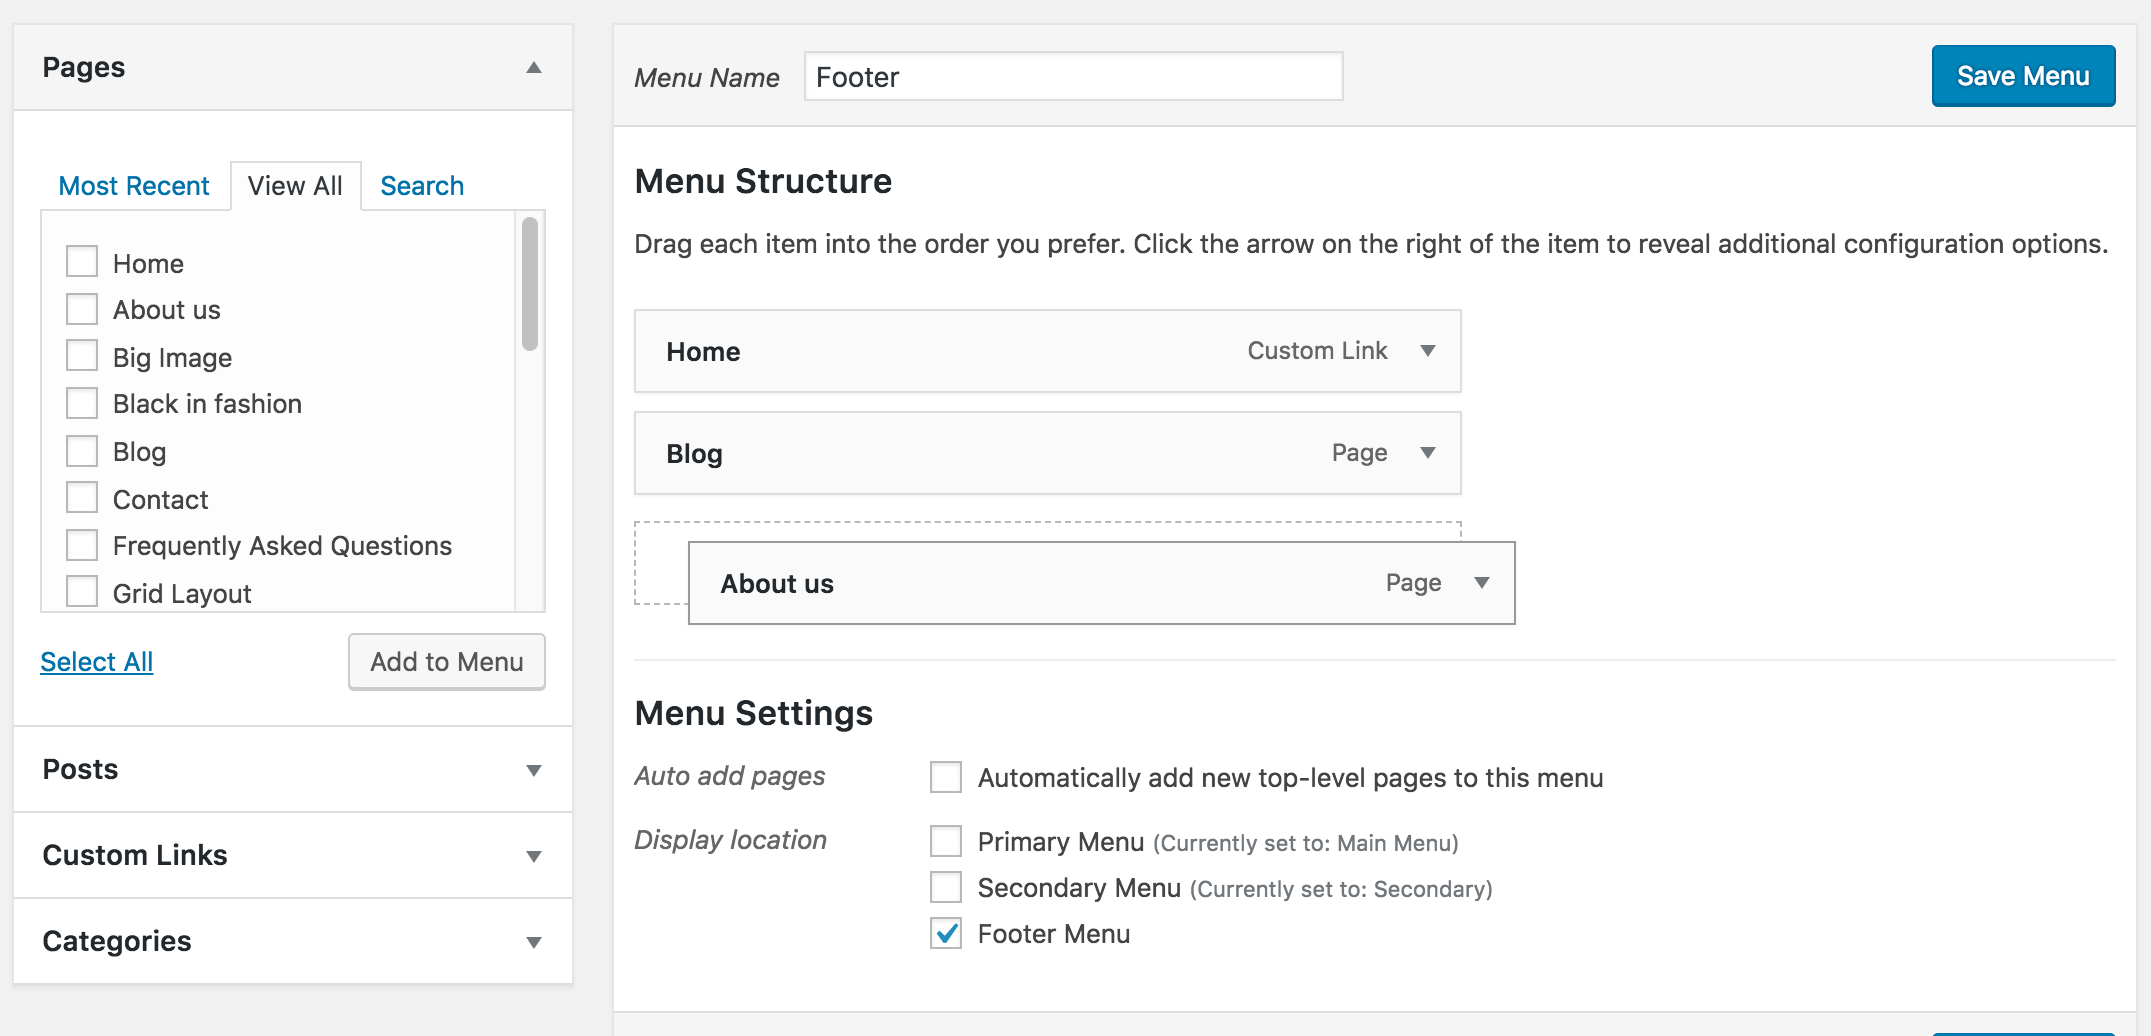
You can view the full list of your site Pages by selecting the 'View All' tab in the left hand accordion menu. Links can also be re-arranged in the menu structure by clicking and dragging and nested to create drop-down menus.

Following the same steps you can also add direct links to Posts, Categories and WooCommerce Products to your menu.
- To learn how to add WooCommerce products and categories please see the Add Products and Categories to the menu How To guide.
- To learn how to create a Mega Menu with inVogue please see the Create an inVogue Mega Menu How To guide.
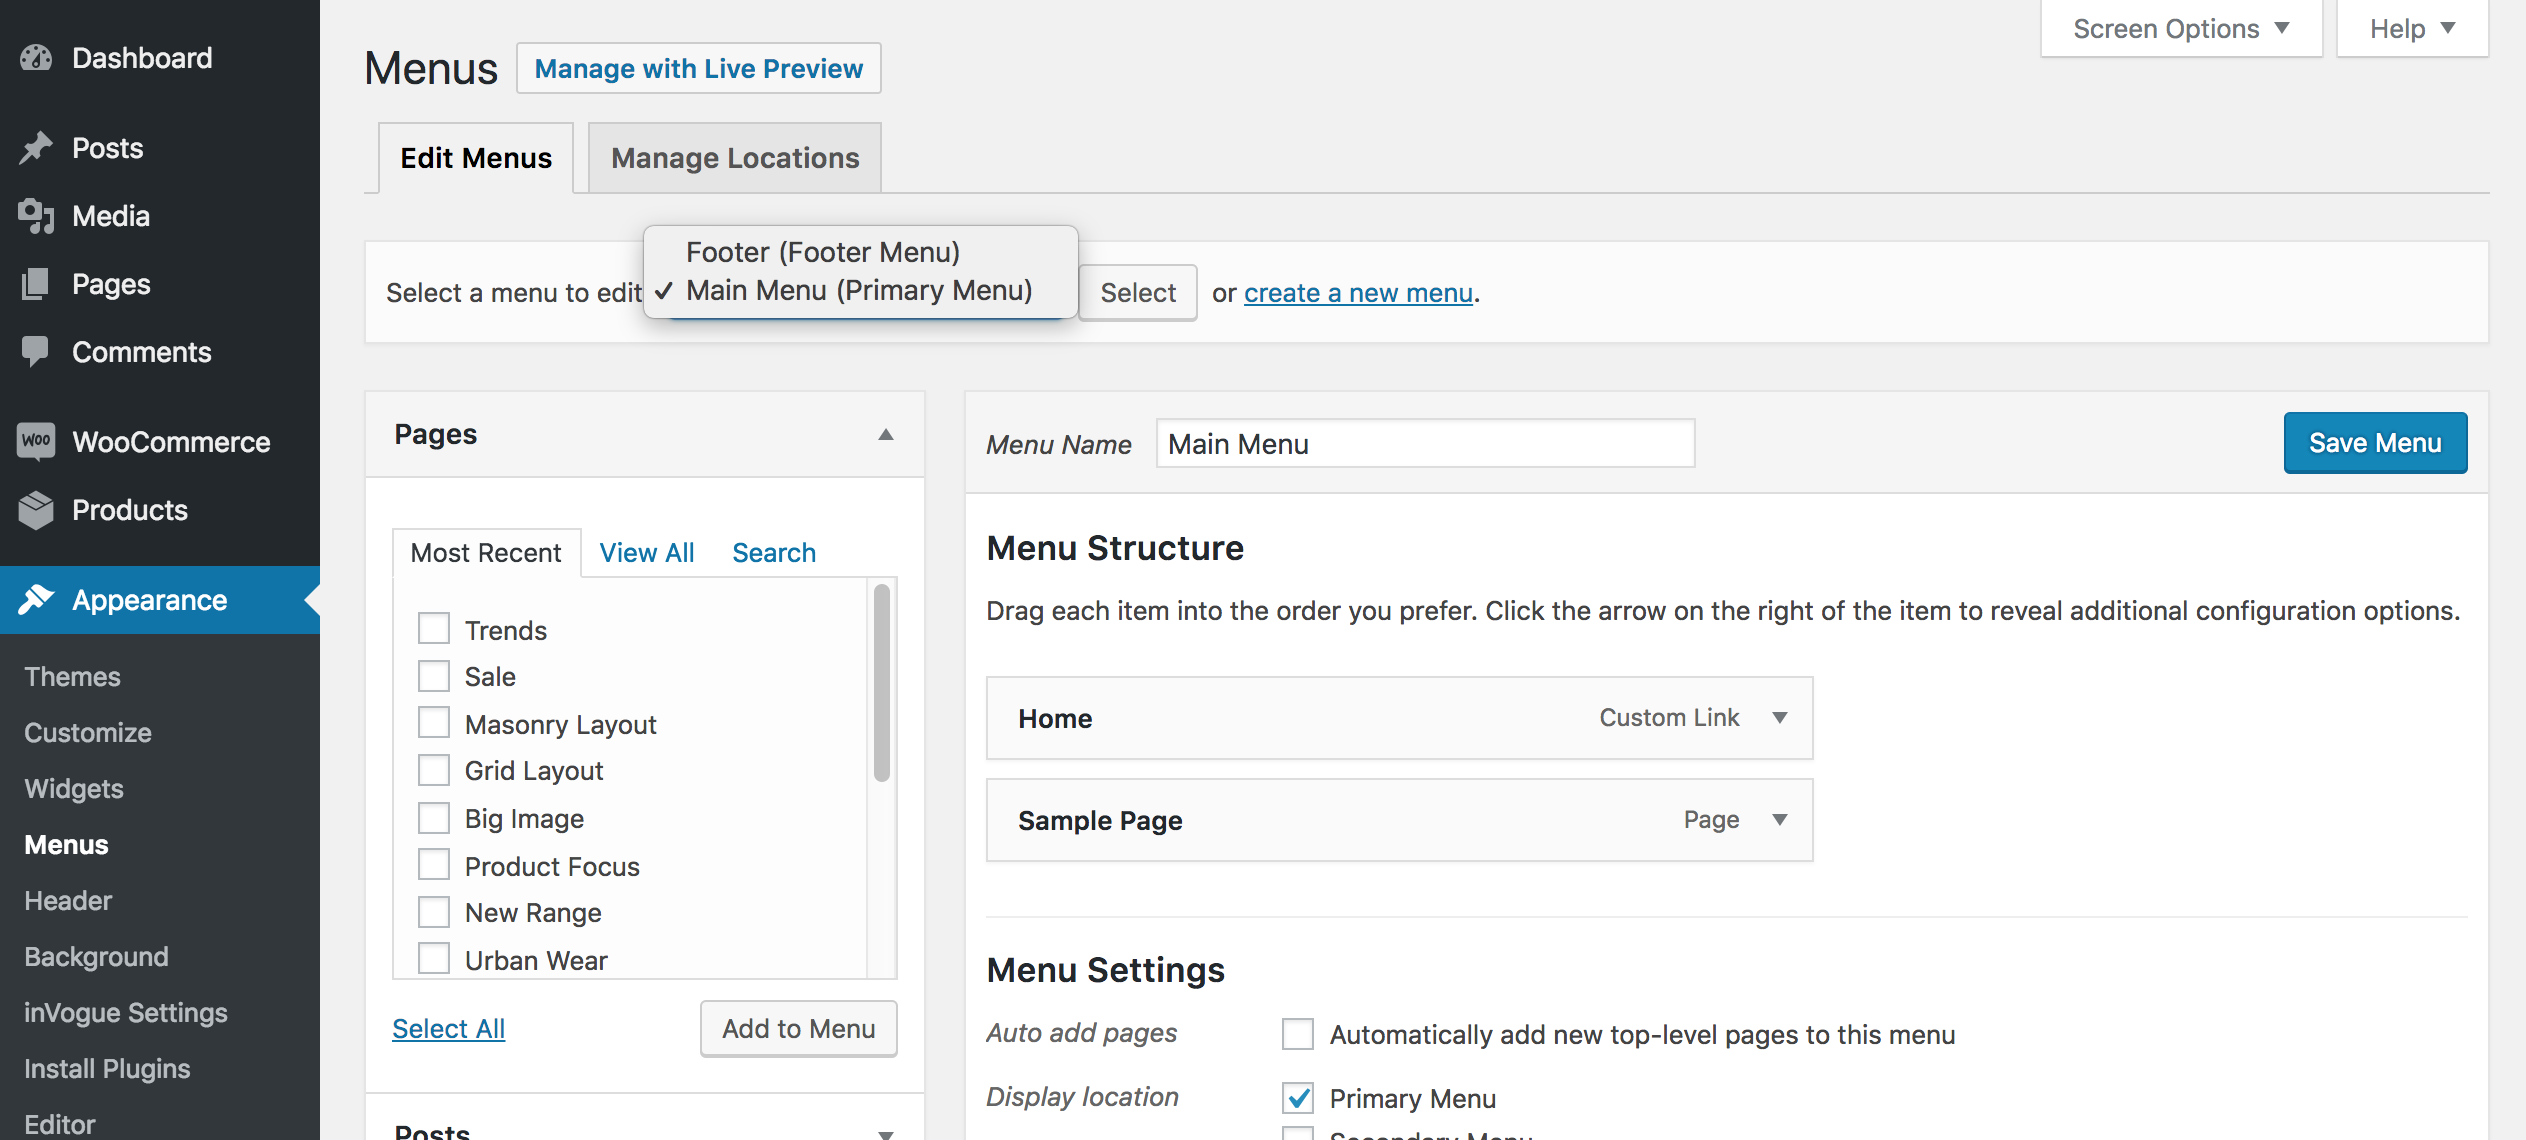
To switch between your created menu's select the relevant menu name from the 'Select a menu to edit' dropdown and then click the 'Select' button.
