CONTENTS:
Assign a visual style to your lookbook page
Lookbooks are pages where you can display a selection of images. Whether that is for a story, a new fashion collection or anything you can think of. You can create as many separate lookbooks as you like.
Create a Lookbooks page
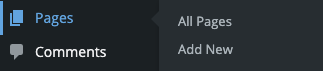
First, you need to create a page on your site for your Lookbooks to display. Navigate to Pages in the left hand WP sidebar and select 'Add New'.
- Name your new page, and in the right-hand sidebar go to Page Attributes.
- Under Template select 'inVogue - Lookbook Template'.
- Now publish your page by clicking the 'Publish' button.

Create a Lookbook
Once you have a page created, you will need to set up a lookbook. You can start this by navigating from the WP sidebar to Lookbooks.
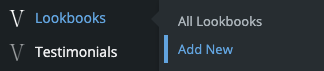
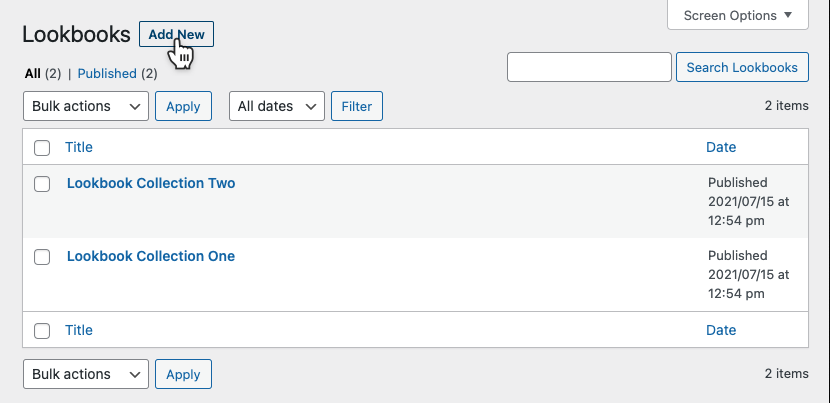
Select ‘Add New’ or select 'All Lookbooks' and select the 'Add New' button at the top of the page and name your Lookbook.
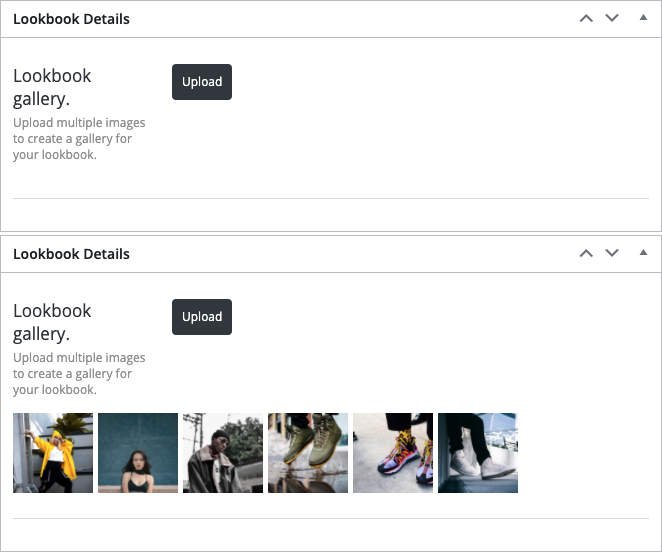
Scroll down to the Lookbook Details section and add any images you want to the gallery. You can upload new pictures or choose them from your ‘media library’
Next, add a featured image in the right sidebar – this will be used in the 'Lookbook Slider Element'.

Now you can build out the rest of the page however you wish (Add text and images) using the WPBakery Page Builder - see how to use this here.
Click the ‘Publish’ button in the top right.
Assign a visual style to your Lookbook page
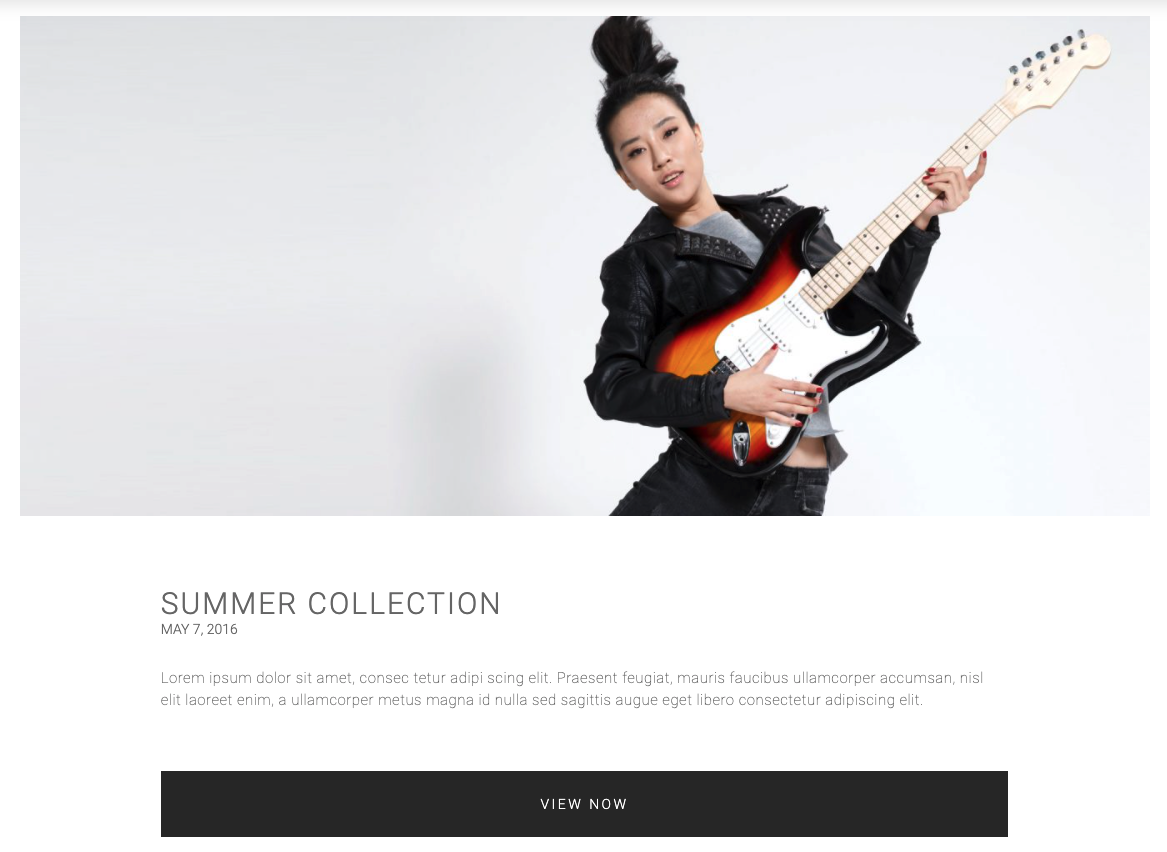
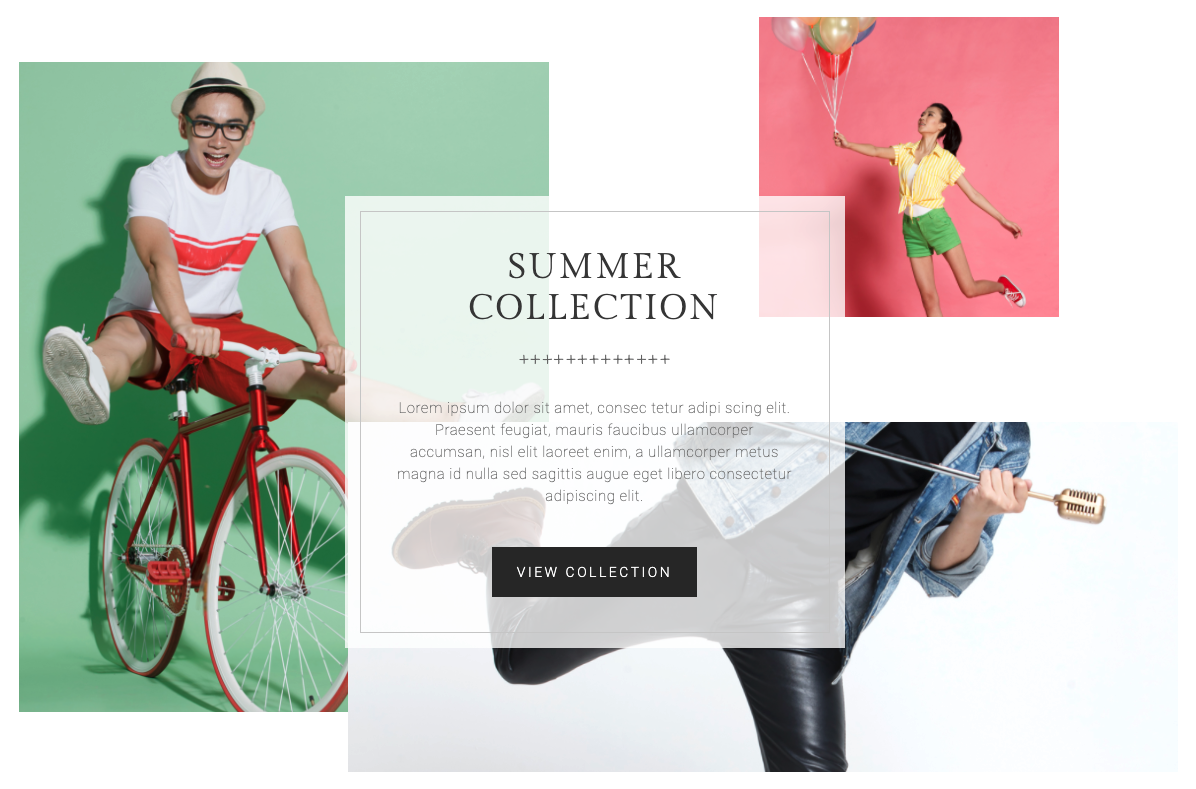
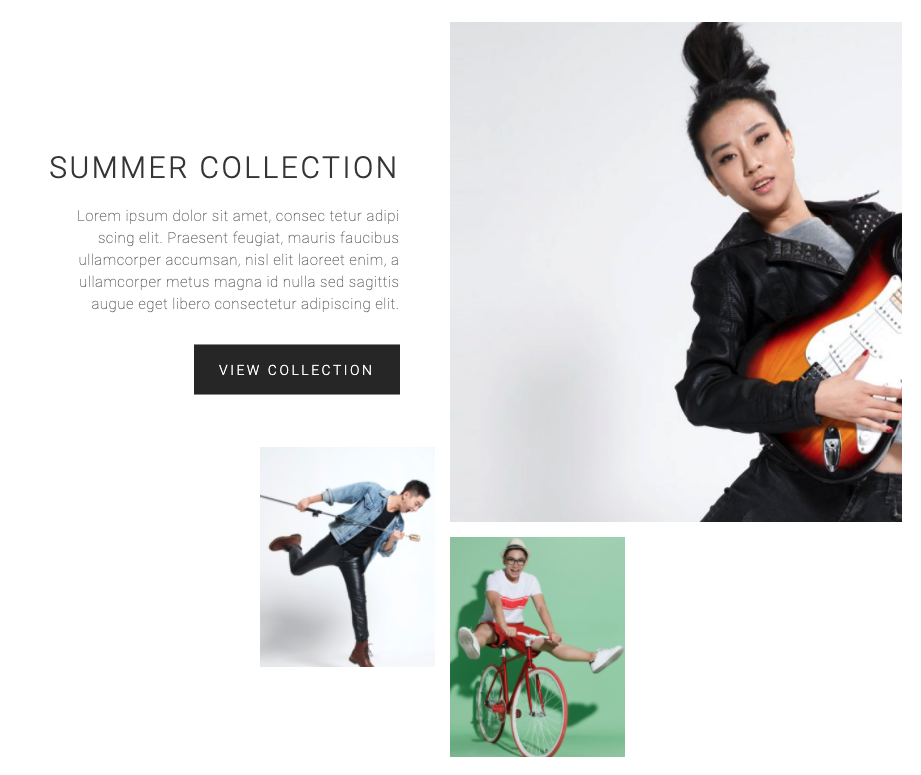
There are 3 different visual styles to choose from to use on your lookbook page. You can see them on the demo site here: Style 1 - Original Layout , Style 2 - Mosaic layout , Style 3 - Tile Layout
ORIGINAL LAYOUT
MOSAIC LAYOUT
TILE LAYOUT
Navigate to Appearance → inVogue Settings
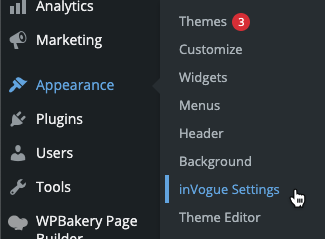
In the inVogue Settings menu navigate to Lookbooks. Under Lookbook archive layout you can select your desired lookbook style from the dropdown.
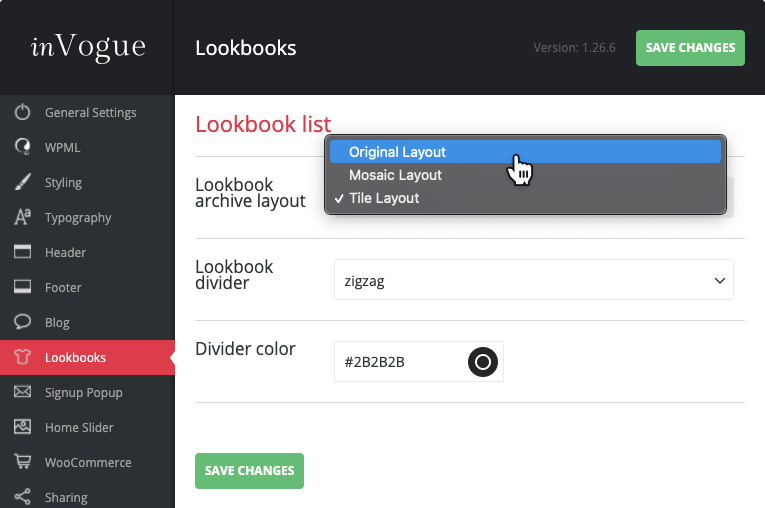
Here you can also change the lookbook divider shape and color.
Remember to Save your changes when you are done.