The inVogue demo uses the two row footer layout along with the four column layout for the main footer section. For each footer column in the main row a different widget has been used. For the bottom bar some text has been entered on the footer settings tab, the social icons for the footer have been enabled and a menu has been assigned to the footer:
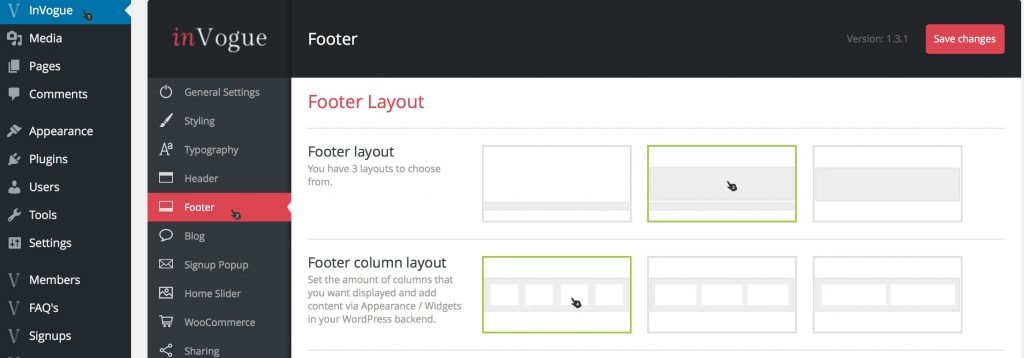
Step 1: Adjust the footer settings
Select the inVogue settings page from the WordPress admin panel and choose then Footer settings tab. From here you should select the second or middle ‘Footer layout’ and the first ‘Footer column layout’ option.
STEP 2: BOTTOM FOOTER BAR SETTINGS
While still on the Footer settings tab scroll down to the ‘Extra Footer Settings’ section. Here you can enable the ‘Footer copyright’ option and enter some custom text for the ‘Copyright text’ field and enable the ‘Enable social icons’ option.
Please note that the social icons used here are setup and enabled from the Header options tab.
You can now say save these changes.
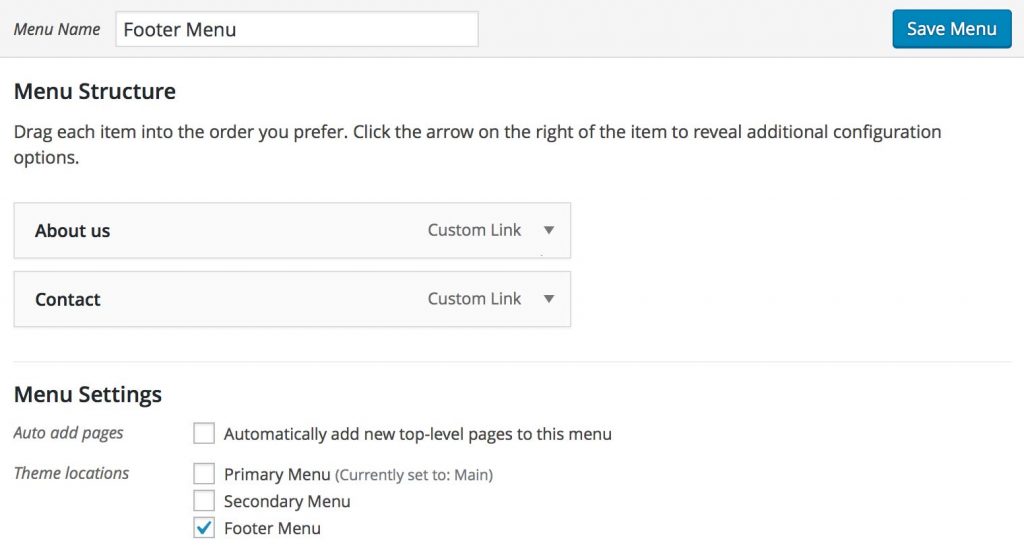
STEP 3: CREATE A FOOTER MENU
For a detailed outline on creating a new menu and assigning pages to it see our documentation here.
If you have already created a footer menu you can assign the required pages to this menu and assign the menu to the ‘Footer Menu’ location and then save this menu.
STEP 4: ADD IN THE FOOTER WIDGETS
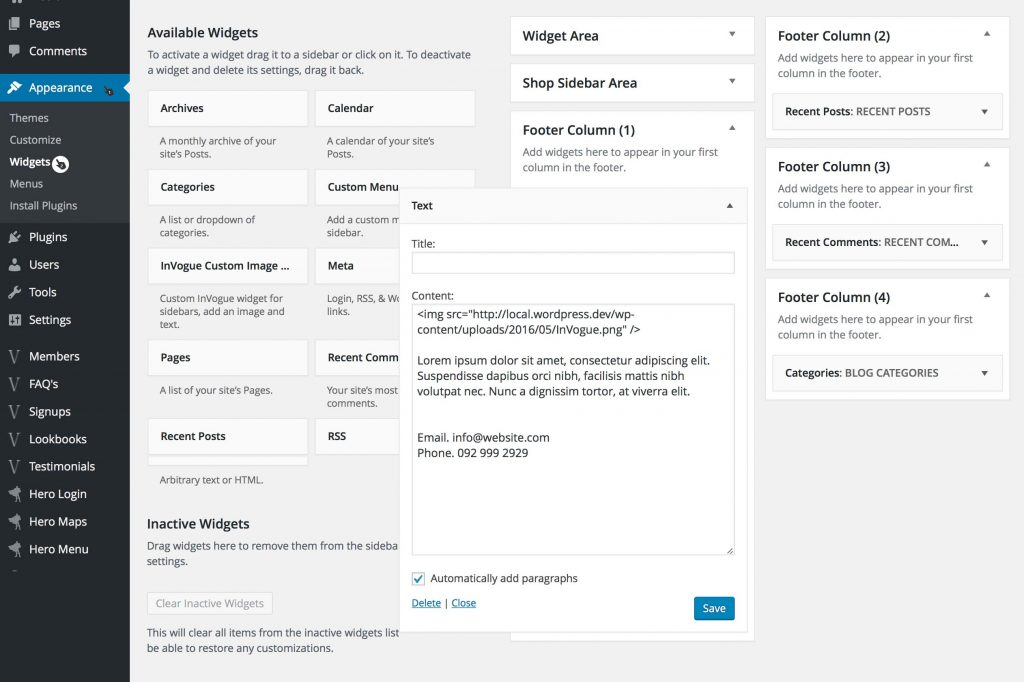
First you’ll need to navigate to the ‘Widgets’ page located under the ‘Appearance’ dropdown within the left hand WordPress dashboard menu.
For the first column in the footer a ‘Text’ widget has been used. Widgets from the left hand ‘Available Widgets’ are can be dragged and added into the available widget areas.
Settings for the fist column are shown below:
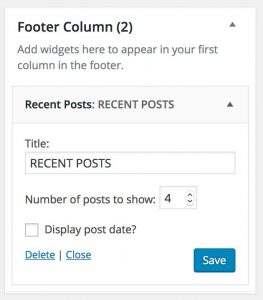
For the 2nd column a ‘Recents Posts’ widget has been used.
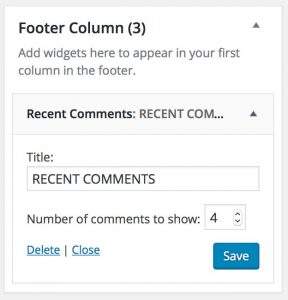
For the 3rd column a ‘Recent Comments’ widget has been used.
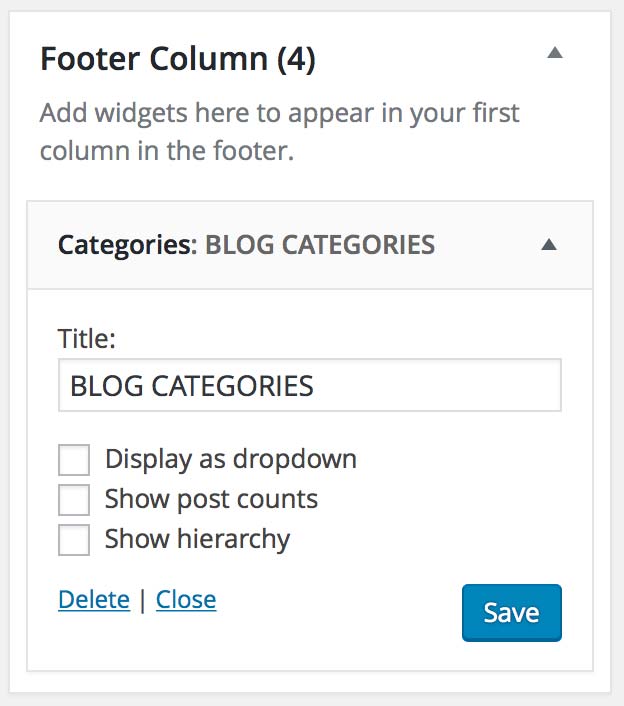
For the 4th column a ‘Categories’ widget has been used.
Please note that you’ll need to click ‘Save’ for each individual widget.
Once completed you’ll have a footer resembling out demo page.